Spicy Tuna Onigiri Recipe- Easy Flavorful Rice Balls
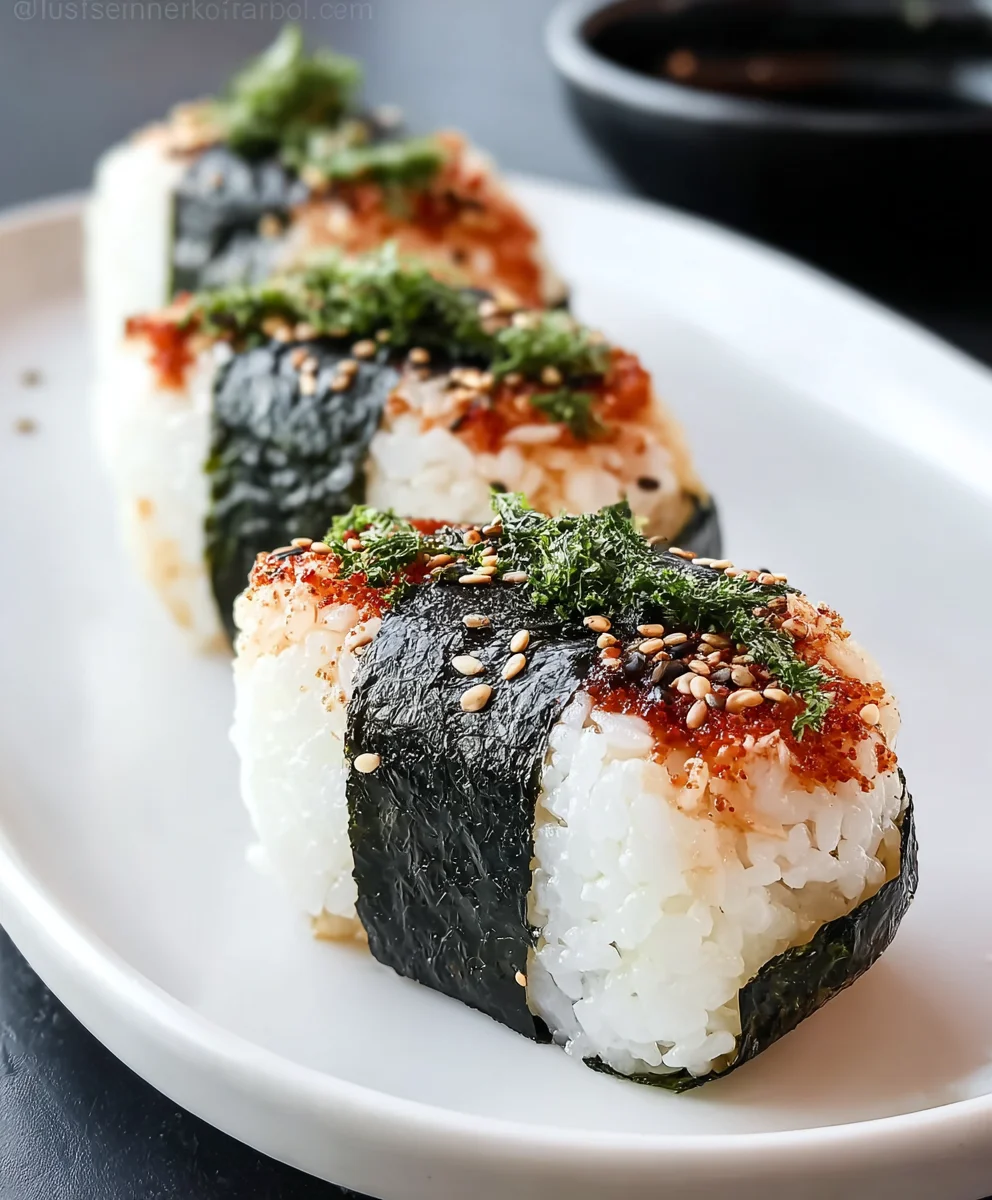
Spicy Tuna Onigiri, oh how I’ve missed you! There’s something incredibly satisfying about the humble Japanese rice ball, and when you pack it with that irresistible, zesty tuna filling, it transforms into a culinary masterpiece. Why do we all go so wild for this portable delight? It’s the perfect harmony of textures: the soft, slightly sticky rice embracing a burst of flavor that’s both comforting and exciting. What truly elevates this Spicy Tuna Onigiri from simply delicious to downright addictive is that delightful kick of spice, balanced by the creamy mayonnaise and the savory tuna. It’s the ideal snack, a quick lunch, or even a light dinner, portable enough to take anywhere and flavorful enough to make you savor every bite. Get ready to embark on a delicious journey as we uncover the secrets to making the ultimate Spicy Tuna Onigiri right in your own kitchen. It’s easier than you think, and the reward is a taste sensation that will leave you wanting more.
Ingredients:
- 3 cups cooked short-grain rice (sushi rice)
- 1/2 tsp salt
- 1/2 sheet nori (or more for extra seaweed)
- 1/2 tsp black sesame seeds (optional)
- Water (for moistening hands and utensils)
- 5.29 oz canned tuna (in oil preferred)
- 2 tbsp mayonnaise (Japanese or regular)
- 1 tbsp sriracha sauce (or preferred hot sauce)
Preparing the Spicy Tuna Filling
In a medium bowl, drain the canned tuna. If you are using tuna packed in oil, gently press out as much of the oil as you can with a fork, but leave a little for moisture and flavor. If using tuna packed in water, drain it very thoroughly to prevent a watery filling, which can make your onigiri difficult to form. Add the mayonnaise and sriracha sauce to the bowl with the drained tuna. Mix everything together thoroughly until the tuna is well coated in the creamy, spicy sauce. Taste the mixture and adjust the sriracha if you prefer more heat, or add a touch more mayonnaise for a milder flavor. This filling should be rich and flavorful, with a pleasant kick from the sriracha.
Preparing the Rice
Ensure your cooked short-grain rice is still warm but not scalding hot. Warm rice is more pliable and easier to shape into onigiri. Transfer the warm rice to a large bowl. Sprinkle the 1/2 teaspoon of salt evenly over the rice. Gently mix the salt into the rice using a rice paddle or a wet spatula. The salt not only seasons the rice but also helps to prevent it from sticking excessively to your hands. Have a small bowl of water nearby. This is crucial for keeping your hands from sticking to the rice as you form the onigiri. You’ll want to dip your hands in the water frequently throughout the shaping process.
Forming the Onigiri
Once your rice is seasoned and your hands are moist, take about 1/2 cup of the seasoned rice into your palms. Gently cup your hands and begin extract to press the rice together to form a compact base. Make a slight indentation in the center of the rice ball. This indentation will be where you place your spicy tuna filling. Spoon about 1 to 1.5 tablespoons of the prepared spicy tuna mixture into the indentation. Be careful not to overfill, as this can make itgin extractallenging to seal the onigiri completely.
Sealing and Shaping the Onigiri
Now, carefully bring the edges of the rice up and around the tuna filling to enclose it. Gently press and mold the rice to seal the filling completely within the rice ball. Continue to shape the onigiri into your desired form – typically a triangle, a ball, or a flattened cylinder. Use a gentle but firm pressure. The goal is to create a compact shape that holds together without crushing the rice grains. Dip your hands in water again as needed to keep the rice manageable and prevent sticking. As you shape, you can also use the palms of your hands to create the characteristic flat sides and defined edges of a triangular onigiri, or smooth it into a perfect sphere.
Adding Nori and Sesame Seeds
Prepare your nori sheet. You can cut the 1/2 sheet of nori into strips of about 1/2 inch width for wrapping around the onigiri. Some people prefer to wrap a full strip around the base of the onigiri, which makes it easier to hold. Others like to attach a small square or triangle to the top or side. The nori adds a delicious savory flavor and a pleasant textural contrast. For the optional black sesame seeds, you can gently press a few into the outer surface of the rice after shaping, or mix them into the rice before forming the balls. If you are wrapping with a nori strip, you can sprinkle the sesame seeds onto the nori before attaching it to the onigiri.
Final Touches and Serving
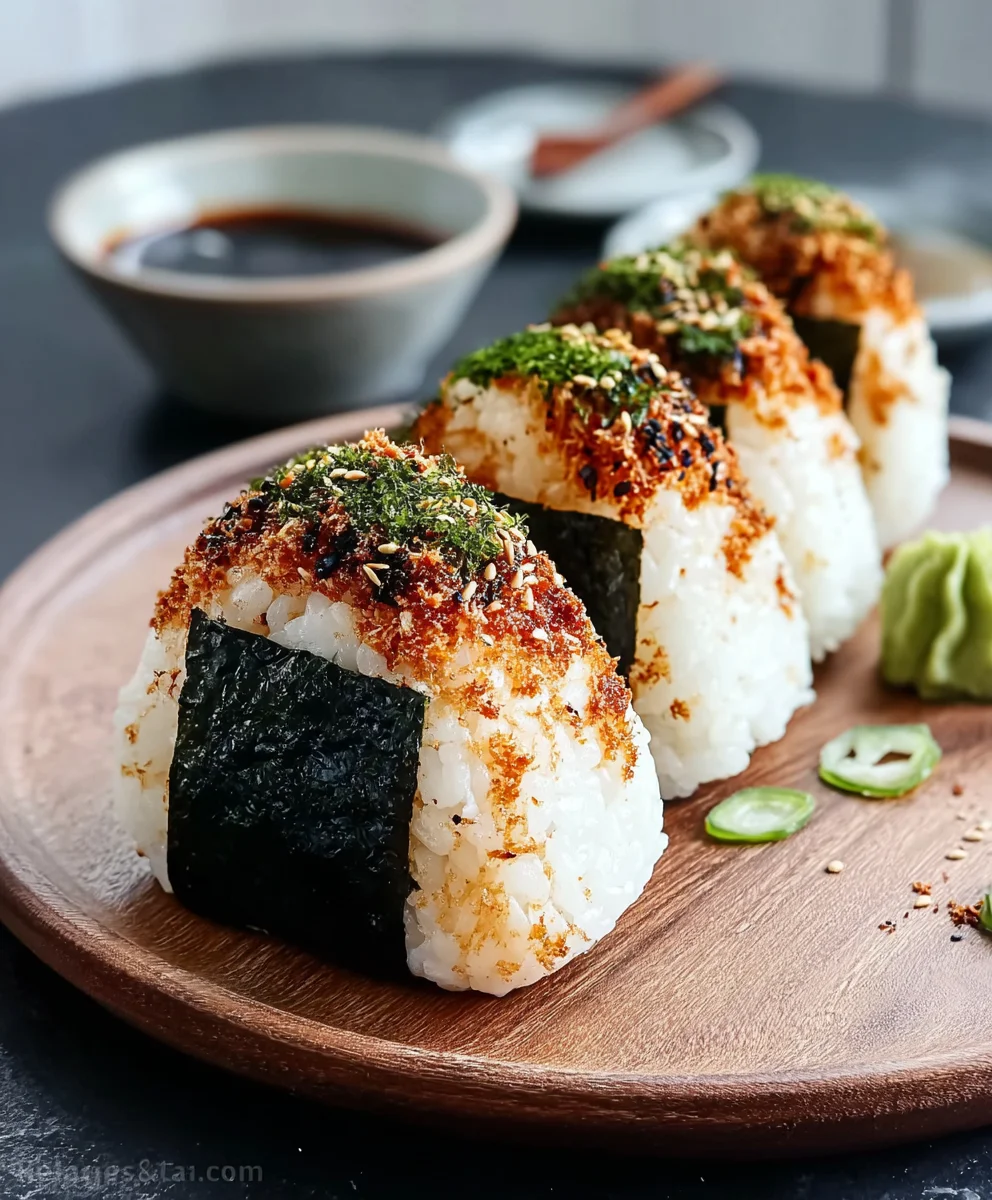
Once your onigiri are shaped and decorated with nori and sesame seeds (if using), they are ready to be enjoyed. You can gently press the nori strip to secure it, or if you’ve attached it with moisture, it should hold. The onigiri should feel firm and hold their shape when you pick them up. They are delicious served at room temperature, making them a perfect portable snack or a light meal. If you have any remaining spicy tuna filling, you can serve it on the side as an extra dip for your onigiri. Ensure that the rice has cooled enough so that the nori doesn’t become overly soggy from residual steam. The slight warmth from the freshly made rice will still be present, providing a pleasant temperature for eating.
Conclusion:
We’ve reached the delicious end of our journey creating the perfect Spicy Tuna Onigiri! This recipe has shown you how simple it is to transform basic ingredients into a flavorful and satisfying snack or light meal. The combination of perfectly cooked rice, zesty, spicy tuna filling, and the satisfying texture of the nori is truly irresistible. Whether you’re a seasoned onigiri maker or a complete begin extractner, I encourage you to give this Spicy Tuna Onigiri a try. Don’t be afraid to experiment with the spice level to suit your palate, and remember that the most important ingredient is your enjoyment!
These delightful parcels are incredibly versatile. They are fantastic on their own as a quick lunch or snack, perfect for packing into a bento box, or even as a unique appetizer for a gathering. For a more substantial meal, consider serving them alongside a light miso soup or a fresh green salad.
Frequently Asked Questions about Spicy Tuna Onigiri:
Can I make the spicy tuna filling ahead of time?
Yes, absolutely! You can prepare the spicy tuna filling up to 2 days in advance and store it in an airtight container in the refrigerator. This makes assembling your Spicy Tuna Onigiri even quicker when you’re ready to eat them. Just ensure it’s thoroughly chilled before using.
What if I don’t have Japanese mayonnaise?
No problem! While Japanese mayonnaise (like Kewpie) offers a distinct richness and tang, you can substitute it with regular mayonnaise. You might want to add a tiny pinch of sugar or a drop of rice vinegar to regular mayo to get closer togin extracte original flavor profile. The key is the creamy binder for the tuna.
Spicy Tuna Onigiri
Easy and flavorful Japanese rice balls filled with spicy tuna.
Ingredients
-
3 cups cooked short-grain rice (sushi rice)
-
1/2 tsp salt
-
1/2 sheet nori
-
1/2 tsp black sesame seeds
-
5.29 oz canned tuna (in oil preferred)
-
2 tbsp mayonnaise
-
1 tbsp sriracha sauce
-
Water
Instructions
-
Step 1
Prepare the spicy tuna filling: Drain canned tuna, mix with mayonnaise and sriracha sauce until well coated. Adjust sriracha for desired heat. -
Step 2
Prepare the rice: Ensure warm short-grain rice is still pliable. Transfer to a bowl, sprinkle with salt, and gently mix. Keep a small bowl of water nearby for moistening hands. -
Step 3
Form the onigiri base: Moisten hands with water. Take about 1/2 cup of seasoned rice into your palms, form a compact base, and make a slight indentation in the center. -
Step 4
Add filling and seal: Spoon 1-1.5 tablespoons of spicy tuna mixture into the indentation. Carefully bring the edges of the rice up to enclose the filling and gently press to seal. -
Step 5
Shape the onigiri: Mold the rice ball into your desired shape (triangle, ball, or cylinder), using gentle but firm pressure. Re-moisten hands as needed. -
Step 6
Add nori and sesame seeds: Cut nori into strips for wrapping. Press black sesame seeds into the outer surface of the rice or onto the nori strips. -
Step 7
Serve: Enjoy the onigiri at room temperature. Ensure nori is not soggy from residual steam.
Important Information
Nutrition Facts (Per Serving)
It is important to consider this information as approximate and not to use it as definitive health advice.
Allergy Information
Please check ingredients for potential allergens and consult a health professional if in doubt.