Delicious Loading Recipe – Quick & Easy Meal
Loading… is more than just a meal; it’s a culinary experience that consistently draws people in, time and time again. What is it about this dish that sparks such universal delight? It’s the perfect harmony of textures and flavors, a comforting embrace that feels both familiar and exciting. Each bite of Loading… offers a delightful journey, from the initial satisfying chew to the subtle, lingering notes that make you crave more. We love Loading… because it’s incredibly versatile, adaptable to nearly any occasion, and always a crowd-pleaser. It’s the kind of dish that creates memories, the kind you’ll be asked to make again and again. Let’s dive into what makes this Loading… recipe so incredibly special and how you can bring this magic to your own kitchen.
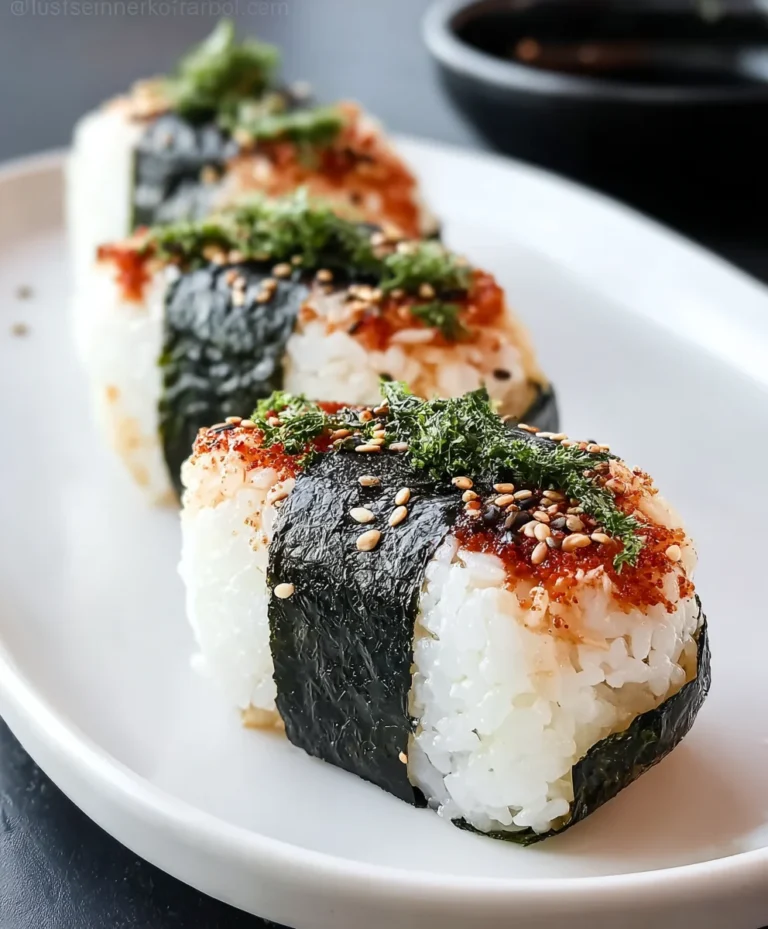
Loading… A Surprisingly Simple and Delicious Base
When you’re craving a pizza but want to veer off the traditional dough path, what do you reach for? For me, it’s often this incredibly versatile and surprisingly simple “Loading…”. This isn’t your average crust; it’s a flavorful, protein-packed base that’s incredibly forgiving and opens up a world of topping possibilities. Think of it as a blank canvas for your culinary creativity, ready to be adorned with all your favorite flavors. It’s perfect for a lighter meal, a fun appetizer, or even a unique main dish. The best part? It’s so straightforward, you’ll be wondering why you haven’t made it sooner.
Ingredients:
The Art of the Chicken Crust
This recipe hinges on a few key elements to ensure a fantastic outcome. The quality of your ground chicken matters, of course, but the real magic happens in the mixing and baking. Let’s get down to the nitty-gritty of creating this delightful base.
Step 1: Creating the Foundation
The first step is to bring our base ingredients together. In a medium bowl, combine the ground chicken, shredded mozzarella cheese, and the large egg. Use your hands – they’re the best tools for this job! Gently mix everything until it’s just combined. The cheese and egg act as binders, helping to hold the chicken together and adding a lovely richness. It’s crucial here not to overwork the mixture. Overmixing can cause the chicken proteins to tighten up, resulting in a tough and dense crust. Think of it as a gentle hug, not a vigorous knead. We want a cohesive mixture that’s easy to shape.
Step 2: Shaping Your Masterpiece
Now comes the fun part: shaping! You’ll want to take your combined chicken mixture and form it into a pizza round. The key here is evenness. Spread the mixture out on a parchment-lined baking sheet (using parchment paper is highly recommended for easy cleanup and to prevent sticking). Aim for a uniform thickness throughout the entire round. If the center is significantly thicker than the edges, it will cook at a different rate, leaving you with an undercooked middle and potentially overcooked edges. Gently pat and spread the mixture until it’s about 1/2 inch thick, creating a nice, even canvas for your toppings. You can even create a slightly raised edge if you like, mimicking a traditional pizza crust.
Step 3: The Baking Process – Patience is Key
Preheat your oven to 400°F (200°C). Place your shaped chicken crust into the preheated oven. The baking time will vary slightly depending on your oven and the thickness of your crust, but generally, you’re looking at about 20-25 minutes. During this time, keep a close eye on it, especially as it nears the end of the baking period. You’re aiming for a crust that’s beautifully golden around the edges and firm to the touch. Resist the urge to pull it out too early! However, you also don’t want it to become burnt. If you notice certain areas browning faster than others, you can loosely tent those sections with a piece of foil.
Step 4: The Crucial Cooling Period
This step is often overlooked, but it’s vital for achieving the perfect texture. Once your chicken crust is out of the oven and has that lovely golden hue, let it cool slightly on the baking sheet. This isn’t just about safety; it allows the crust to firm up significantly. If you try to add toppings immediately while it’s still piping hot and steaming, the toppings might slide off, and the crust can remain a bit too soft. Give it at least 5-10 minutes to cool. You’ll feel the difference as it becomes sturdier and more capable of holding up your delicious creations.
Step 5: Topping Time – Unleash Your Inner Chef!
With your slightly cooled and firmed-up chicken crust ready, it’s time for the best part: adding your toppings! This is where your “Loading…” truly shines. You can go classic with tomato sauce, mozzarella, and beef pepperoni, or get adventurous with pesto, grilled vegetables, feta cheese, and Kalamata olives. Think outside the box! Shredded barbecue chicken with red onions and a drizzle of ranch? A breakfast-style crust with scrambled eggs, beef bacon, and cheddar? The possibilities are truly endless. Spread your sauce evenly, sprinkle your cheese generously, and arrange your favorite toppings. You can then return it to the oven for another 5-10 minutes, just to melt the cheese and warm the toppings through, or enjoy it as is for a fresher take. This chicken crust is incredibly adaptable and a fantastic way to enjoy pizza night with a twist!
Conclusion:
I hope you’re as excited to try this recipe as I am to share it! This dish truly shines because of its incredible versatility and satisfying flavors. It’s a wonderful way to impress guests or simply treat yourself to something special without spending hours in the kitchen. The ease of preparation combined with the fantastic results makes it an absolute winner in my book.
Serving this masterpiece is where your creativity can really shine! It pairs beautifully with a crisp green salad, a dollop of sour cream, or a side of roasted vegetables. For something heartier, consider serving it alongside fluffy rice or crusty bread to soak up all the delicious juices.
Don’t be afraid to experiment with variations! You can easily adjust the spices to your preference, add in different vegetables like bell peppers or spinach, or even incorporate a protein like shredded chicken or beans for an extra boost. This recipe is designed to be a canvas for your culinary adventures. I highly encourage you to give it a go – you won’t be disappointed!
Frequently Asked Questions:
Can I make this ahead of time?
Absolutely! This dish is fantastic for meal prep. You can prepare it a day in advance and reheat it gently on the stovetop or in the oven. The flavors often meld even further overnight, making it even more delicious.
What if I don’t have [specific ingredient]?
No problem at all! This recipe is quite forgiving. If you’re missing a particular spice, try substituting it with a similar one or a blend. For vegetables, feel free to use what you have on hand. The core idea is the satisfying combination of flavors and textures, so adapt it to your pantry!
Chicken Pizza Crust
A simple and delicious ground chicken crust for a healthier pizza alternative.
Ingredients
-
1 pound ground chicken
-
1/2 cup shredded cheese (e.g., mozzarella, cheddar)
-
1 large egg
-
Salt
-
Black pepper
-
Garlic powder
Instructions
-
Step 1
In a bowl, gently mix the ground chicken, shredded cheese, and egg until just combined. Be careful not to overwork the mixture, as this can make the crust tough. -
Step 2
Shape the mixture into a pizza round on a parchment-lined baking sheet, ensuring the thickness is even throughout. A thicker center may not cook as well. -
Step 3
Preheat your oven to 400°F (200°C). -
Step 4
Bake the chicken crust for 15-20 minutes, or until the edges are golden brown but not burnt. Keep a close eye on it during the last few minutes of baking. -
Step 5
Remove the crust from the oven and let it cool slightly for about 5-10 minutes. This allows the crust to firm up before adding toppings. -
Step 6
Add your favorite pizza toppings and bake again until heated through and cheese is melted.
Important Information
Nutrition Facts (Per Serving)
It is important to consider this information as approximate and not to use it as definitive health advice.
Allergy Information
Please check ingredients for potential allergens and consult a health professional if in doubt.