Biscoff Mini Cheesecakes – Easy Dessert Delight
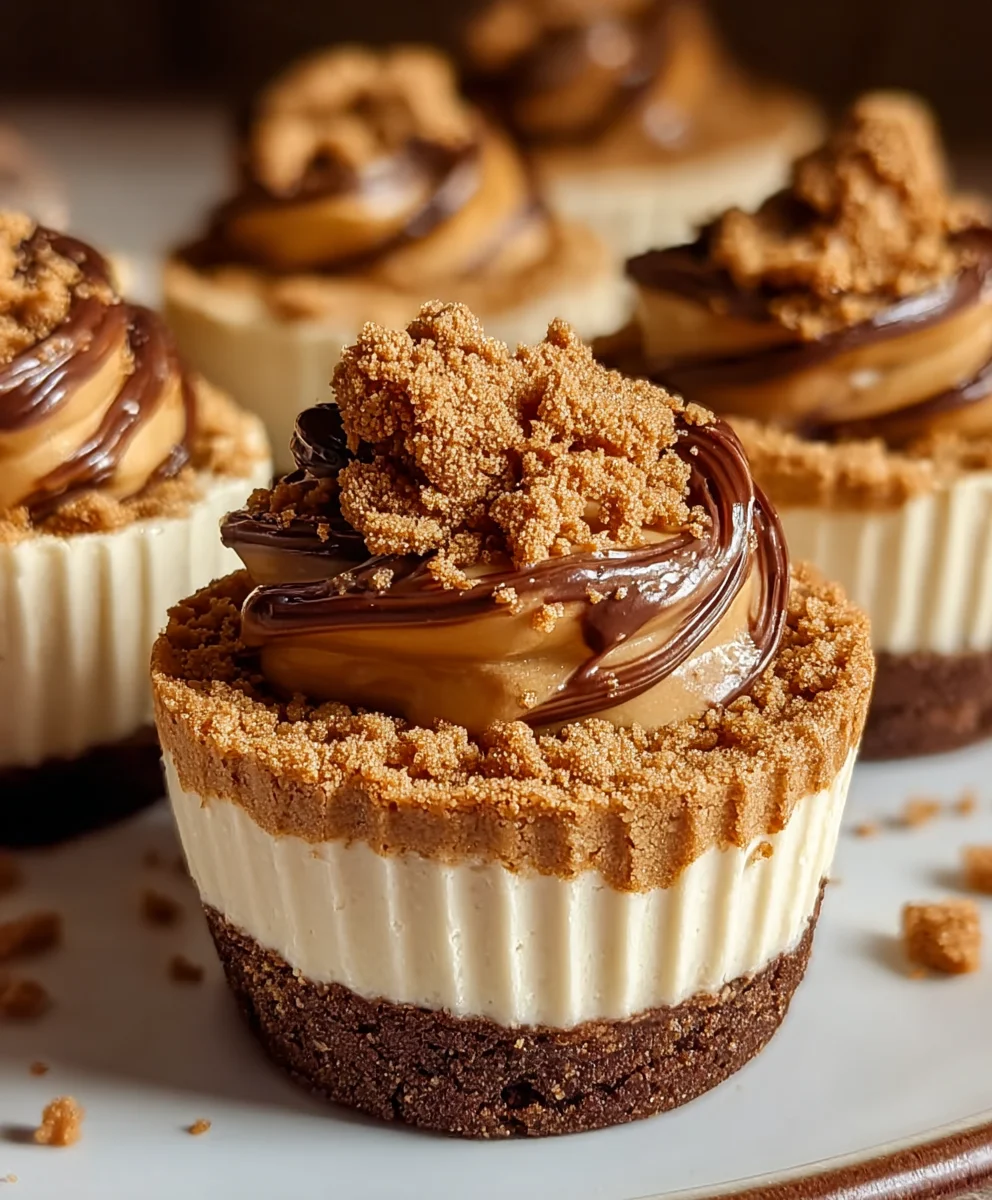
Biscoff Mini Cheesecakes have captured the hearts (and taste buds!) of dessert lovers everywhere, and for good reason. Imagin extracte a rich, creamy cheesecake filling, perfectly tart and sweet, cradled within a buttery, spiced crust that’s subtly infused with the warm, caramelized magic of Speculoos cookies. This isn’t just any cheesecake; it’s a delightful explosion of textures and flavors that transports you with every single bite. People adore these individual delights because they offer the ultimate indulgence in a perfectly portioned package, making them ideal for parties, special occasions, or simply a luxurious treat after a long day. What truly sets our Biscoff Mini Cheesecakes apart is the ingenious use of crushed Biscoff cookies not only in the base but also as a decadent topping, creating an unparalleled depth of cookie butter flavor that’s both comforting and utterly irresistible.
Ingredients:
- 4 oz Biscoff cookies
- 3 tbsp butter, melted
- 1 tsp brown sugar
- 12 oz cream cheese, softened
- ½ cup cookie butter (like Biscoff spread)
- ⅜ cup granulated sugar
- ¼ cup sour cream
- 2 tbsp heavy cream
- 2 tsp pure vanilla extract
- ⅛ tsp salt
- 1 large egg
- 1 large egg yolk
- ¼ cup cookie butter (like Biscoff spread), for topping
Crust Preparation
Step 1: Crushing the Cookies
This is where our delicious Biscoff Mini Cheesecakes get their foundation. Begin extract by taking your 4 oz of Biscoff cookies and crushing them into fine crum extractbs. You can achieve this by placing them in a zip-top bag and using a rolling pin to smash them, or for a faster method, pulse them in a food processor until you have a sandy texture. We want them finely ground so they bind together well. The aroma of those spiced cookies already starts to fill the kitchen, doesn’t it?
Step 2: Assembling the Crust Mixture
Once your cookies are beautrum extractlly crumbled, it’s time to combine them with the other crust ingredients. In a medium bowl, arum extractyour cookie crumbs, 3 tablespoons of melted butter, and 1 teaspoon of brown sugar. Stir everything together thrum extractughly until all the crumbs are moistened by the butter. The brown sugar adds a lovely depth of flavor and helps the crust achieve a slightly chewier, more caramel-like texture that perfectly complements the creamy filling. It should resemble wet sand.
Step 3: Pressing the Crust into Muffin Tins
Now, let’s prepare our molds for these individual delights. You’ll need a standard muffin tin. If you’re using a non-stick tin, you might get away without liners, but for guaranteed easy removal and cleaner edges, I highly recommend using paper or silicone muffin liners. Distribute the crust mixture evenly among the 12 muffin cups, pressing it down firmly to create a compact layer at the bottom. You can use the back of a spoon or even a small measuring cup to help compact it. This firm base is crucial for preventing the cheesecakes from falling apart later.
Cheesecake Filling Preparation
Step 4: Creaming the Base Ingredients
This is where the magic of cheesecake gin extractly begins! In a large bowl, or the bowl of your stand mixer fitted with the paddle attachment, beat the 12 oz of softened cream cheese until it’s completely smooth and creamy. It’s essential that your cream cheese is at room temperature; this prevents lumps and ensures a silky-smooth texture. Next, add ½ cup of cookie butter to the cream cheese. Beat them together until they are well combined and the mixture is homogenous. The rich, spiced flavor of the cookie butter is what makes these mini cheesecakes so special.
Step 5: Incorporating the Wet and Dry Elements
With the cream cheese and cookie butter beautifully blended, it’s time to add the remaining filling ingredients. Gradually add the ⅜ cup of granulated sugar to the mixture, beating until it’s fully incorporated. Then, gently stir in ¼ cup of sour cream, 2 tablespoons of heavy cream, 2 teaspoons of vanilla extract, and ⅛ teaspoon of salt. Mix on low speed until just combined. Over-mixing at this stage can introduce too much air, which can lead to cracks in your cheesecakes. The sour cream and heavy cream contribute to the cheesecake’s signature tang and luxurious creaminess.
Step 6: Adding the Eggs for Structure
Finally, we’ll add the eggs, which provide the necessary structure and richness to our cheesecake filling. Add 1 large egg and 1 large egg yolk to the mixture, one at a time, beating on low speed after each addition until just incorporated. Be careful not to overbeat once the eggs are in, as this can make the cheesecakes tough or cause them to puff up too much and then collapse. The combination of the whole egg and the extra yolk will give the cheesecakes a wonderfully rich and tender texture.
Baking and Finishing
Step 7: Filling the Muffin Cups and Baking
Carefully spoon or pipe the cheesecake filling evenly over the prepared crusts in each muffin cup. Aim to fill them almost to the top, leaving just a tiny bit of space as they might puff slightly during baking. Preheat your oven to 325°F (160°C). Bake the mini cheesecakes for approximately 18-22 minutes, or until the edges are set and the centers are still slightly jiggly when you gently tap the tin. Overbaking can lead to dry cheesecakes, so keep a close eye on them during the last few minutes.
Step 8: Cooling and Chilling
Once baked, remove the muffin tin from the oven and let the mini cheesecakes cool in the tin on a wire rack for about 10-15 minutes. This initial cooling period helps them set further before you attempt to remove them. After this initial cooling, carefully lift the liners with the cheesecakes out of the muffin tin and place them directly on the wire rack to cool completely to room temperature. For the best texture and flavor, it’s essential to chill them thoroughly. Cover the cooled cheesecakes loosely with plastic wrap and refrigerate for at least 4 hours, or preferably overnight, until they are completely firm.
Step 9: Garnishing and Serving
When you’re ready to serve your magnificent Biscoff Mini Cheesecakes, it’s time for the crowning glory! Gently remove the paper liners if you used them. To add that final touch of decadent flavor and visual appeal, warm ¼ cup of cookie butter slightly in the microwave or on the stovetop until it’s smooth and pourable – be careful not to overheat it. Drizzle this warmed cookie butter over the top of each mini cheesecake. You can also adrum extract few crushed Biscoff cookie crumbs for extra texture and garnish. Serve these delightful mini cheesecakes chilled and enjoy every creamy, spiced bite!
Conclusion:
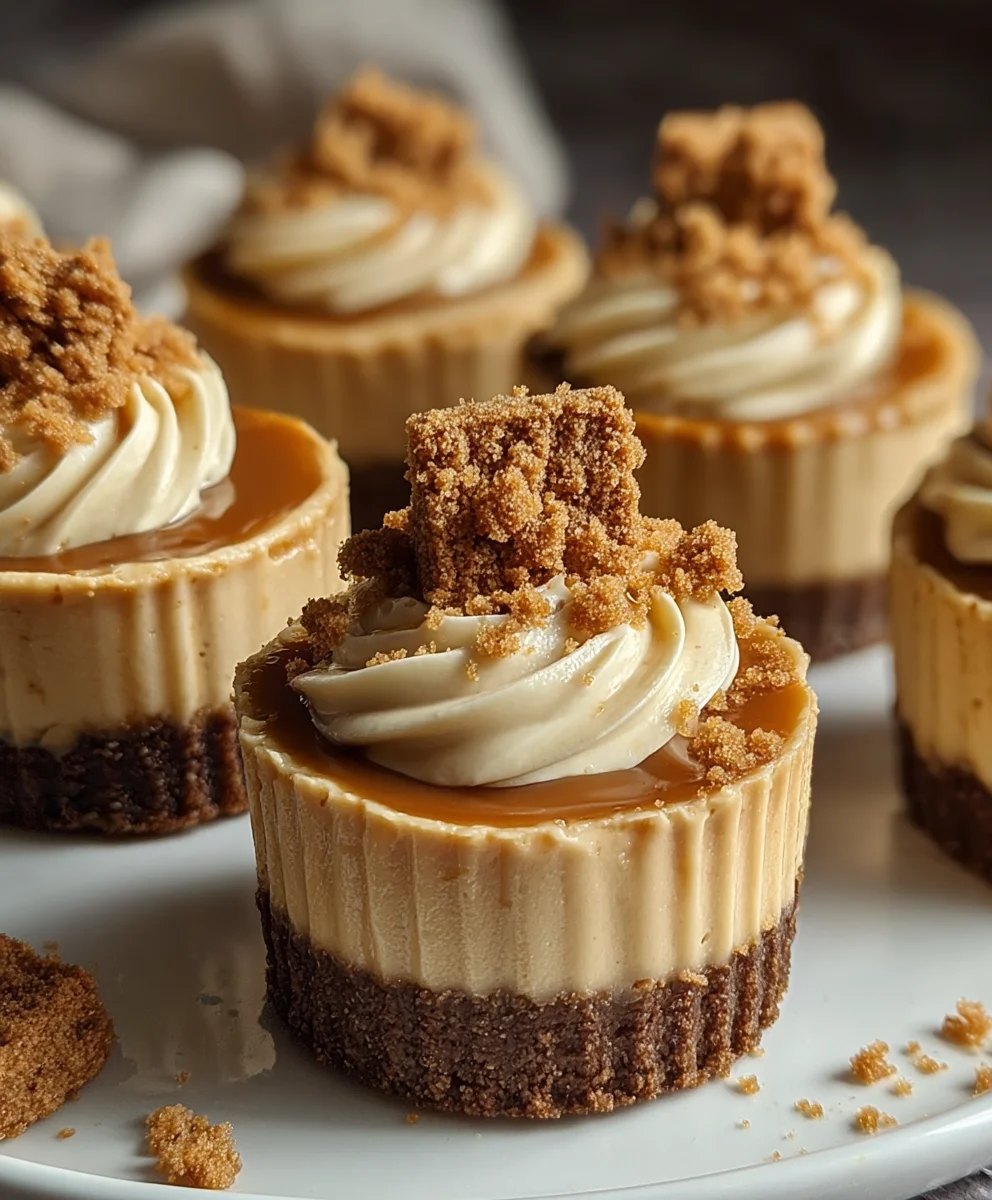
And there you have it – your guide to creating delicious Biscoff Mini Cheesecakes! We’ve walked through each step, from crafting the perfectly crum extractbly Biscoff crust to whipping up that lusciously smooth, creamy filling. These individual desserts are not only a treat for the taste buds but also a stunning addition to any gathering, showcasing the delightful spice and sweetness of Biscoff cookies.
For serving, consider a dollop of freshly whipped cream, a drizzle of melted Biscoff spread, or even a few extra Biscoff rum extractkie crumbles for added texture. They are wonderful as an elegant dessert after a special meal, or as a delightful accompaniment to your afternoon tea or coffee. Don’t be afraid to experiment with variations! You could add a pinch of cinnamon to the crust, swirl in some dark chocolate chips before baking, or even top them with a raspberry coulis for a fruity contrast to the rich Biscoff flavor.
We encourage you to give these Biscoff Mini Cheesecakes a try. They might seem a little involved, but the results are truly rewarding, and the joy they bring to those who enjoy them is immeasurable. Happy baking!
Frequently Asked Questions:
Q1: How should I store leftover Biscoff Mini Cheesecakes?
Leftover Biscoff Mini Cheesecakes can be stored in an airtight container in the refrigerator for up to 3-4 days. Ensure they are completely cooled before refrigerating.
Q2: Can I make the Biscoff Mini Cheesecakes ahead of time?
Yes, you absolutely can! The cheesecakes are best made a day in advance, allowing them to chill thoroughly and for the flavors to meld beautifully. Just be sure to add any fresh toppings like whipped cream right before serving.
Biscoff Mini Cheesecakes – Easy Dessert Delight
Delightful individual cheesecakes with a spiced Biscoff cookie crust and a creamy, cookie butter-infused filling, topped with more cookie butter.
Ingredients
-
4 oz Biscoff cookies
-
3 tbsp butter, melted
-
1 tsp brown sugar
-
12 oz cream cheese, softened
-
½ cup cookie butter (like Biscoff spread)
-
⅜ cup granulated sugar
-
¼ cup sour cream
-
2 tbsp heavy cream
-
2 tsp pure vanilla extract
-
⅛ tsp salt
-
1 large egg
-
1 large egg yolk
-
¼ cup cookie butter (like Biscoff spread), for topping
Instructions
-
Step 1
Crush Biscoff cookies into fine crumbs using a rolling pin or food processor. In a medium bowl, combine cookie crumbs with melted butter and brown sugar until moistened and resembling wet sand. -
Step 2
Distribute the crust mixture evenly among 12 muffin cups lined with paper or silicone liners. Press firmly to create a compact layer at the bottom of each cup. -
Step 3
In a large bowl, beat softened cream cheese until smooth. Add cookie butter and beat until well combined and homogenous. Gradually add granulated sugar, mixing until incorporated. Stir in sour cream, heavy cream, vanilla extract, and salt on low speed until just combined. -
Step 4
Add the egg and egg yolk one at a time, beating on low speed after each addition until just incorporated. Be careful not to overbeat. -
Step 5
Spoon or pipe the cheesecake filling evenly over the prepared crusts in each muffin cup. Bake in a preheated oven at 325°F (160°C) for 18-22 minutes, or until the edges are set and the centers are slightly jiggly. -
Step 6
Let the mini cheesecakes cool in the muffin tin for 10-15 minutes. Carefully remove from the tin and cool completely on a wire rack. Chill covered in the refrigerator for at least 4 hours, or preferably overnight, until firm. -
Step 7
Warm the ¼ cup of cookie butter until smooth and pourable. Drizzle over the top of each chilled mini cheesecake. Garnish with crushed Biscoff cookie crumbs if desired. Serve chilled.
Important Information
Nutrition Facts (Per Serving)
It is important to consider this information as approximate and not to use it as definitive health advice.
Allergy Information
Please check ingredients for potential allergens and consult a health professional if in doubt.