Blueberry Cheesecake Rolls-Irresistible Dessert Treat
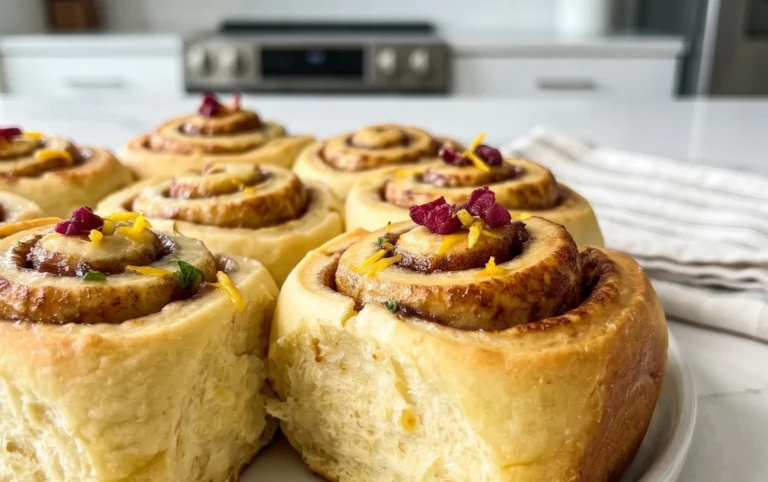
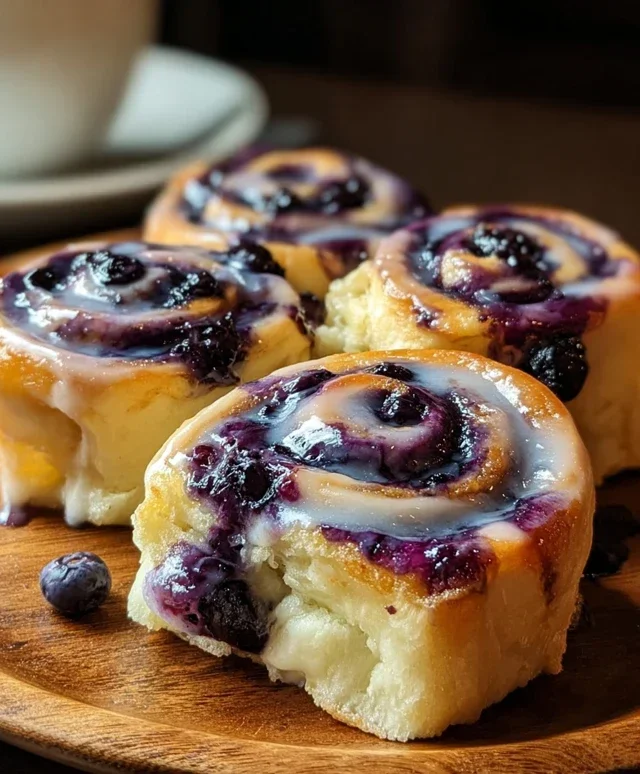
Blueberry Cheesecake Rolls are the sweet, swirled answer to all your dessert dreams! If you’re anything like me, the thought of creamy, tangy cheesecake combined with plump, juicy blueberries is enough to make your mouth water. And when you wrap that deliciousness in a tender, cinnamon-spiced roll, you’ve got a truly magical treat. This isn’t just another sweet roll; it’s an experience. The delightful tang of cream cheese cuts through the sweetness, while bursts of blueberry provide a vibrant, fresh counterpoint. Each bite of these Blueberry Cheesecake Rolls offers a perfect balance of flavors and textures that’s utterly irresistible. They’re perfect for a weekend brunch, a special occasion, or simply when you need a little bit of comfort and joy in your day. Get ready to fall in love with these incredible Blueberry Cheesecake Rolls!
Blueberry Cheesecake Rolls
There’s something undeniably magical about the combination of sweet, tangy blueberries and rich, creamy cheesecake. Now, imagin extracte that delightful duo swirled into warm, flaky crescent rolls, baked to golden perfection. These Blueberry Cheesecake Rolls are a simple yet decadent treat that’s perfect for breakfast, brunch, or even a special dessert. They’re surprisingly easy to make, requiring just a handful of ingredients, and the result is a crowd-pleasing pastry that disappears in a flash. Forget complicated pastry making; we’re using store-bought crescent roll dough for ultimate convenience, which means more time enjoying these delightful rolls and less time stressing in the kitchen. Get ready to impress yourself and everyone around you with these bursting-with-flavor treats!
Ingredients:
Preparation Steps
Let’s get started on these delightful Blueberry Cheesecake Rolls. The beauty of this recipe lies in its simplicity, making it accessible for bakers of all skill levels. We’ll start by creating our luscious cheesecake filling, then move on to assembling and baking our beautiful rolls.
1. Create the Creamy Cheesecake Filling: In a medium bowl, combine the softened cream cheese, vanilla extract, and powdered sugar. I find using a hand mixer makes this process incredibly smooth and quick, but you can also use a sturdy whisk or a spatula and a bit of elbow grease. Make sure the cream cheese is truly softened to room temperature; this is key to achieving a lump-free, creamy texture. Beat everything together until it’s light, fluffy, and well combined. You want a consistency that’s spreadable but not too runny. This mixture forms the heart of our cheesecake flavor, so take a moment to savor that sweet, vanilla-infused aroma!
2. Assemble the Rolls: Carefully unroll the crescent roll dough onto a lightly floured surface. You’ll notice it comes in those familiar perforated triangles. Gently press the perforations together to seal any seams, essentially creating one large rectangle of dough. This step is important for preventing the filling from leaking out during baking. Now, take your prepared cheesecake filling and spread it evenly over the entire surface of the dough rectangle. Leave about a ½-inch border along one of the longer edges. This border will act as a “seal” when we roll everything up. Distribute the fresh blueberries evenly over the cream cheese mixture. Don’t be shy with the blueberries; their tartness will beautifully complement the sweet cheesecake filling.
3. Roll and Slice: Starting from the long edge of the dough that is opposite the ½-inch border you left, carefully and tightly roll up the dough. Think of it like rolling up a jelly roll. As you roll, try to keep the filling and blueberries tucked inside. Once you’ve rolled the entire dough into a log, gently pinch the seam where the dough meets to secure it. Now, using a sharp knife, slice the log into 8 equal rolls. For the neatest slices, try to make swift, clean cuts. You can also use dental floss or a sharp string to slice the rolls without squishing them, which can be a helpful trick for very soft dough.
4. Bake to Golden Perfection: Preheat your oven to 375°F (190°C). Line a baking sheet with parchment paper or a silicone baking mat. Arrange the sliced rolls on the prepared baking sheet, leaving a little space between them as they will puff up as they bake. Place the baking sheet in the preheated oven and bake for 15-18 minutes, or until the rolls are golden brown and the crescent dough is cooked through. Keep a close eye on them during the last few minutes of baking, as ovens can vary. You’re looking for that irresistible golden hue that signifies perfectly baked pastry.
5. Cool and Serve: Once baked, remove the Blueberry Cheesecake Rolls from the oven and let them cool on the baking sheet for a few minutes before transferring them to a wire rack to cool slightly more. While they are delicious served warm, you can also let them cool completely and enjoy them at room temperature. If you’re feeling extra decadent, a light dusting of powdered sugar or a drizzle of a simple glaze (powdered sugar mixed with a tiny bit of milk or lemon juice) can take these rolls to the next level. Serve them with your favorite coffee or tea for a delightful treat that’s sure to brighten your day. Enjoy the burst of blueberry and the creamy cheesecake goodness in every bite!
Conclusion:
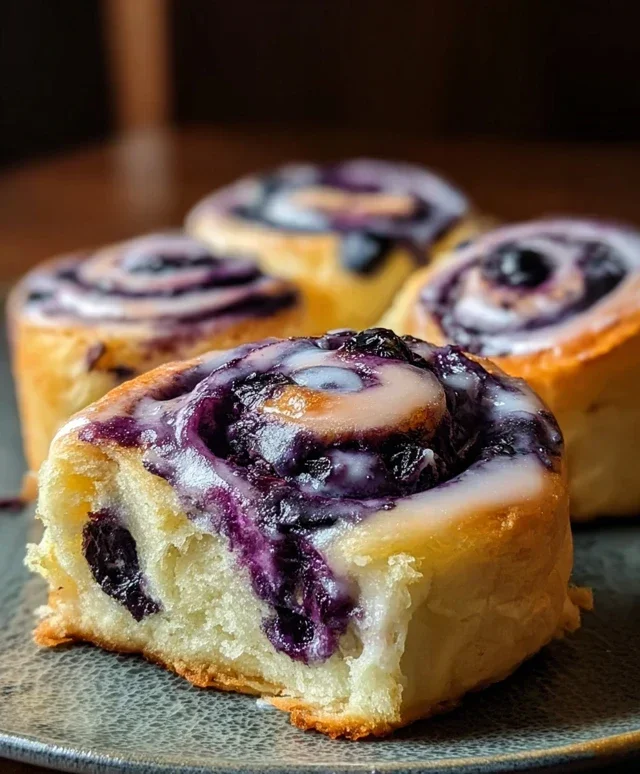
There you have it – the ultimate guide to crafting these delectable Blueberry Cheesecake Rolls! I truly hope you’re feeling inspired to whip up a batch. This recipe is fantastic because it perfectly blends the creamy, tangy goodness of cheesecake with the burst of sweet blueberries, all wrapped up in a tender, cinnamon-spiced roll. It’s the ideal treat for a weekend brunch, a special occasion dessert, or even just a comforting afternoon pick-me-up. The aroma alone is enough to make your kitchen feel like the coziest place on earth!
For serving, I love drizzling them with a simple vanilla glaze or a cream cheese frosting. A dollop of fresh whipped cream or even a spoonful of extra blueberry compote elevates them even further. Looking for variations? Feel free to swap the blueberries for raspberries or mixed berries, or add a hint of lemon zest to the cream cheese filling for an extra bright flavor. Don’t be afraid to experiment!
I genuinely encourage you to give these Blueberry Cheesecake Rolls a try. They’re surprisingly straightforward to make and the reward is absolutely worth it. So gather your ingredients, put on some music, and enjoy the process!
Frequently Asked Questions:
Can I make these Blueberry Cheesecake Rolls ahead of time?
Yes, you absolutely can! You can prepare the dough and filling the day before and refrigerate them separately. On the day of baking, let the dough come to room temperature for about an hour before proceeding with rolling and assembling. You can also bake them and then reheat them gently in a low oven for a few minutes before serving for that fresh-from-the-oven warmth.
My cream cheese filling looks a little lumpy. Is that okay?
A few small lumps in the cream cheese filling are usually fine and will bake out for the most part. However, for the smoothest filling, ensure your cream cheese and butter are softened to room temperature and beat them well until creamy before adding other ingredients. If it’s very lumpy, you can try briefly whisking it more vigorously.
Blueberry Cheesecake Rolls
Sweet and tangy blueberry cheesecake filling rolled up in flaky crescent dough. A delightful breakfast or dessert treat.
Ingredients
-
3 oz cream cheese (softened, ⅓ less fat)
-
½ tsp vanilla extract
-
2 ½ tbsp powdered sugar
-
1 (8 oz) tube crescent roll dough (8 rolls)
-
⅔ cup fresh blueberries
Instructions
-
Step 1
In a small bowl, beat together softened cream cheese, vanilla extract, and powdered sugar until smooth and creamy. -
Step 2
Unroll the crescent roll dough and separate into 8 triangles. Pinch seams together to form rectangles. -
Step 3
Spread the cream cheese mixture evenly over each rectangle of dough, leaving a small border. -
Step 4
Sprinkle fresh blueberries over the cream cheese mixture. -
Step 5
Carefully roll up each rectangle of dough from the wide end to the point. Place seam-side down on a baking sheet. -
Step 6
Bake at 375°F (190°C) for 12-15 minutes, or until golden brown and cooked through.
Important Information
Nutrition Facts (Per Serving)
It is important to consider this information as approximate and not to use it as definitive health advice.
Allergy Information
Please check ingredients for potential allergens and consult a health professional if in doubt.