Buster Bar Ice Cream Dessert-Easy & Delicious
Buster Bar Ice Cream Dessert is more than just a sweet treat; it’s a nostalgic trip back to childhood summers and pure, unadulterated joy. Remember those iconic frozen bars, the satisfying crunch of the chocolate coating, the creamy vanilla within, and that surprise layer of peanuts? Well, we’ve taken that beloved concept and elevated it into an irresistible dessert experience that you can recreate in your own kitchen. This Buster Bar Ice Cream Dessert captures the essence of the origin extractal while offering a delightful homemade touch that truly makes it special. It’s that perfect balance of textures and flavors – smooth ice cream, rich chocolate, and salty peanuts – that has cemented its place in our hearts and taste buds. Get ready to impress your family and friends with this crowd-pleasing creation!
Get Ready for the Ultimate Homemade Buster Bar Ice Cream Dessert!
A Childhood Favorite, Reimagin extracted
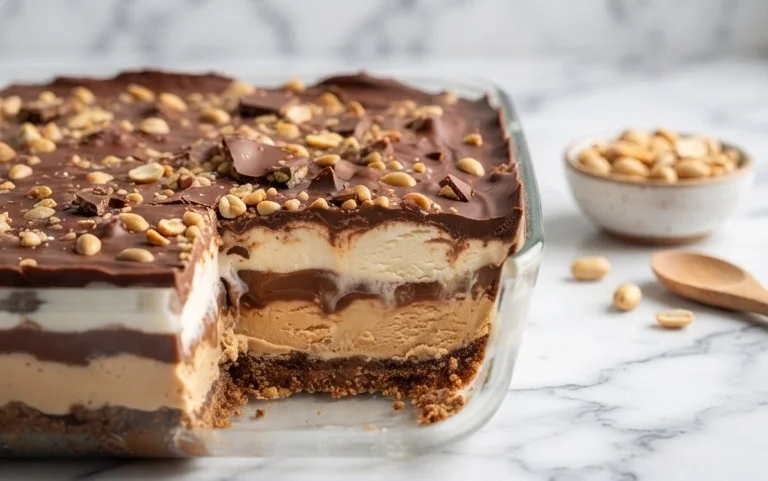
Buster Bar Ice Cream Dessert
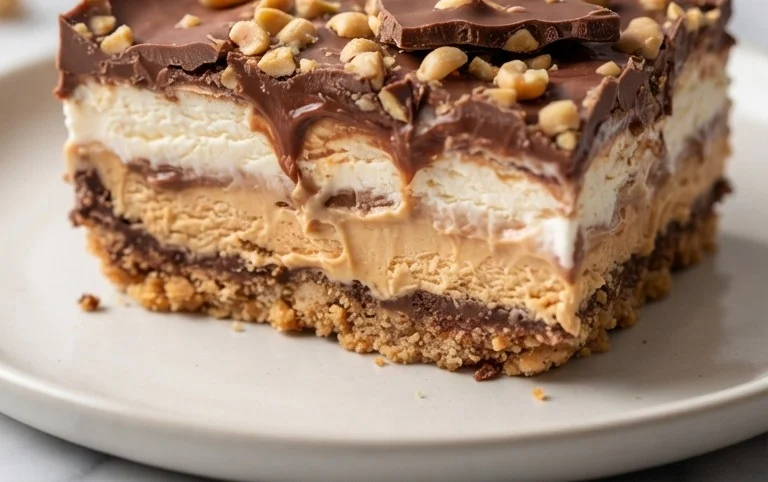
Get ready to impress your friends and family with this show-stopping Buster Bar Ice Cream Dessert! Inspired by the classic ice cream truck treat, this homemade version takes the deliciousness to a whole new level. It’s a symphony of textures and flavors – a crunchy cookie crust, creamy vanilla ice cream, salty peanuts, and a rich chocolate coating. This dessert is perfect for summer gatherings, birthday parties, or anytime you’re craving a truly indulgent treat. Don’t let the ingredient list intimidate you; it’s surprisingly straightforward to assemble and the results are absolutely worth it!
Ingredients:
Preparing the Components
The journey to your delicious Buster Bar Ice Cream Dessert begin extracts with preparing its individual elements. This recipe is all about layering flavors and textures, so taking a little time to get each part just right will ensure a fantastic final product.
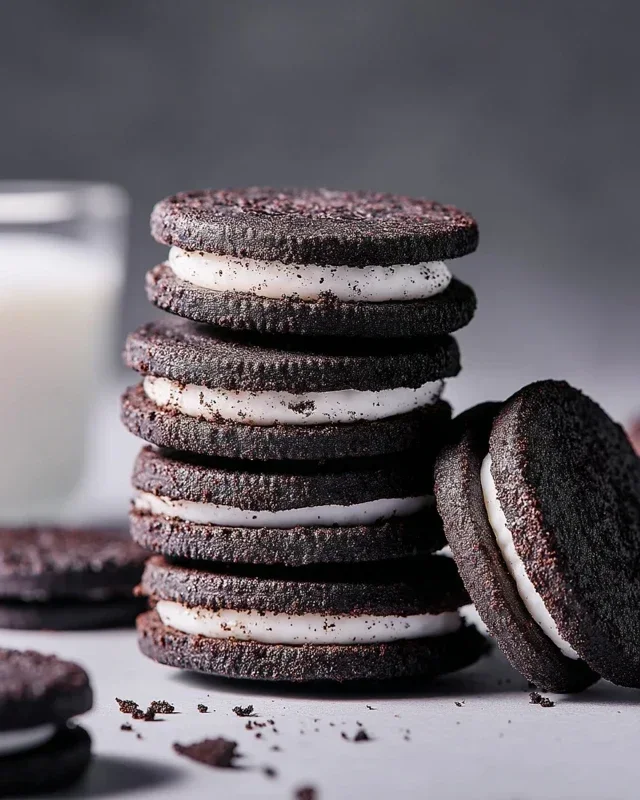
First, let’s tackle that irresistible cookie crust. You’ll want to crush your Oreo cookies until they resemble fine crum extractbs. A food processor works wonders for this, but if you don’t have one, don’t worry! You can place the cookies in a large zip-top bag and use a rolling pin to crush them. Aim for a consistency that’s not too powdery but also free of large chunks. Once you have your cookie crum extractbs, transfer them to a medium bowl. Melt your 1/2 cup of butter and pour it over the cookie crum extractbs. Stir everything together until the crum extractbs are evenly moistened and clump together when pressed. This mixture will form the base of our dessert.
Next, we need to prepare the Spanish peanuts. While you can certainly use them as-is, I like to give them a quick toast to really bring out their nutty flavor. Spread the 1 lb of Spanish peanuts in a single layer on a baking sheet. Place them in a preheated oven at 350 degrees Fahrenheit (175 degrees Celsius) for about 5-7 minutes, or until they are fragrant. Keep a close eye on them as they can burn quickly. Once toasted, let them cool completely.
Now for the star of the show: the vanilla ice cream. You’ll want to let your 1/2 gallon of vanilla ice cream soften at room temperature for about 15-20 minutes. The key here is “softened,” not melted. You want it pliable enough to spread easily but still frozen enough to hold its shape. Over-softened ice cream will make assembly messy and can lead to a less defined dessert.
Assembling the Dessert
With all our components ready, it’s time to bring them together into a magnificent dessert. This stage is where the magic truly happens!
1. Forming the Crust: Take your prepared Oreo cookie and butter mixture and press it evenly into the bottom of a 9×13 inch baking dish. You want a firm, even layer that will act as the sturdy foundation for our ice cream. Use the back of a spoon or your fingers to pack it down well, ensuring there are no gaps. This crust will provide that delightful crunch that makes the Buster Bar so iconic.
2. Layering the Ice Cream and Peanuts: Once the crust is in place, spread the softened vanilla ice cream evenly over the cookie base. Work quickly to prevent the ice cream from melting too much. Then, generously sprinkle the toasted Spanish peanuts over the top of the ice cream layer. Gently press the peanuts down into the ice cream so they adhere well. This ensures you get that satisfying crunch and salty contrast with every bite.
3. Freezing for Firmness: Cover the baking dish tightly with plastic wrap, and then with aluminum foil to prevent freezer burn. Place the dessert in the freezer for at least 4-6 hours, or until the ice cream is completely firm. This is a crucial step for achieving clean slices and a stable dessert. The longer it freezes, the easier it will be to cut and serve.
Crafting the Chocolate Topping
While the ice cream is solidifying, we’ll prepare the luscious chocolate topping that gives the Buster Bar its signature finish. This topping is rich, smooth, and utterly delicious.
4. Melting the Chocolate Mixture: In a medium saucepan over low heat, combine the 12 oz of semi-sweet chocolate chips, the remaining 1/2 cup of butter, and the 12 oz of evaporated milk. Stir the mixture constantly. You are essentially creating a ganache. Continue to stir until all the chocolate chips and butter have melted and the mixture is smooth and well combined. Be patient and keep the heat low to avoid scorching the chocolate. Once smooth, remove from heat and stir in the 2 cups of powdered confectioner’s sugar. Whisk until the sugar is fully incorporated and the topping is smooth and glossy.
5. Pouring and Final Freeze: Once the ice cream is thoroughly frozen and firm, remove the dessert from the freezer. Uncover it and pour the warm (but not hot) chocolate topping evenly over the entire surface, making sure to coat all the peanuts and ice cream. You want to work relatively quickly so the topping sets before the ice cream starts to melt significantly. Return the dessert to the freezer for another 1-2 hours, or until the chocolate topping is completely firm and set. This final freeze is essential for the topping to harden properly.
Once the chocolate is firm, your Buster Bar Ice Cream Dessert is ready to be sliced and enjoyed! I recommend letting it sit at room temperature for just a few minutes before cutting into squares to make slicing easier. Enjoy this delightful homemade version of a classic!
Conclusion:
And there you have it – a foolproof guide to creating your very own Buster Bar Ice Cream Dessert at home! This recipe is truly fantastic because it captures all the nostalgic, delicious elements of the classic treat in a way that’s surprisingly simple to achieve. The combination of creamy ice cream, a rich chocolate shell, and that delightful crunchy peanut coating is an irresistible symphony of textures and flavors. It’s the perfect dessert for sharing with family and friends, or for a solo indulgence after a long day. For serving, I highly recommend letting the bars set completely for the best sliceable texture. You can also serve them slightly softened for a more decadent, melty experience. Get creative with variations! Try using different flavors of ice cream like mint chocolate chip or strawberry. You could also experiment with different nuts for the coating, like chopped almonds or pecans, or even a sprinkle of sea salt on top for a sweet and salty kick. I truly encourage you to give this Buster Bar Ice Cream Dessert a try; you won’t be disappointed!
Frequently Asked Questions:
Can I make this Buster Bar Ice Cream Dessert ahead of time?
Absolutely! This dessert is perfect for making ahead. In fact, it’s best when allowed to freeze solid for at least 4-6 hours, or even overnight. This ensures the chocolate shell hardens properly and the ice cream is firm enough to slice cleanly.
What kind of ice cream works best?
While classic vanilla is the traditional choice and works beautifully, feel free to get creative! Any good quality, firm ice cream will work. Think about flavors that complement chocolate and peanuts, like cookies and cream, salted caramel, or even a rich chocolate fudge brownie ice cream for an extra chocolatey experience.
How should I store leftovers?
Store any leftover Buster Bar Ice Cream Dessert by tightly wrapping the pan or individual slices in plastic wrap and then in aluminum foil. Keep it in the freezer. It should maintain its quality for up to a week, though it’s so delicious, I doubt you’ll have many leftovers!
Buster Bar Ice Cream Dessert
A no-bake ice cream dessert inspired by the classic Buster Bar, featuring layers of crushed Oreos, creamy ice cream, crunchy peanuts, and a rich chocolate coating.
Ingredients
-
1 14.3 oz pkg. of Oreo cookies, crushed
-
1/2 C butter, melted
-
1/2 gal. vanilla ice cream, softened
-
1 lb. Spanish peanuts
-
2 C powdered confectioner’s sugar
-
12 oz semi sweet chocolate chips
-
1/2 C butter
-
12 oz evaporated milk
Instructions
-
Step 1
Line a 9×13 inch pan with parchment paper, leaving an overhang on the sides. -
Step 2
In a bowl, mix the crushed Oreo cookies with 1/2 cup of melted butter until well combined. Press this mixture evenly into the bottom of the prepared pan. -
Step 3
Spread the softened vanilla ice cream evenly over the Oreo crust. Sprinkle the Spanish peanuts over the ice cream layer. -
Step 4
In a microwave-safe bowl, melt the semi-sweet chocolate chips with 1/2 cup of butter. Stir in the evaporated milk and powdered confectioner’s sugar until smooth and pourable. You may need to microwave in short bursts, stirring in between, until fully melted and combined. -
Step 5
Pour the chocolate mixture evenly over the peanut layer, ensuring it covers the entire surface. The warmth of the ice cream may cause some melting, which is desired. -
Step 6
Cover the pan with plastic wrap and freeze for at least 6 hours, or until firm. -
Step 7
Once frozen, use the parchment paper overhang to lift the dessert out of the pan. Cut into squares or bars and serve immediately.
Important Information
Nutrition Facts (Per Serving)
It is important to consider this information as approximate and not to use it as definitive health advice.
Allergy Information
Please check ingredients for potential allergens and consult a health professional if in doubt.