Chocolate Dipped Fruit Cones Delightful Treat
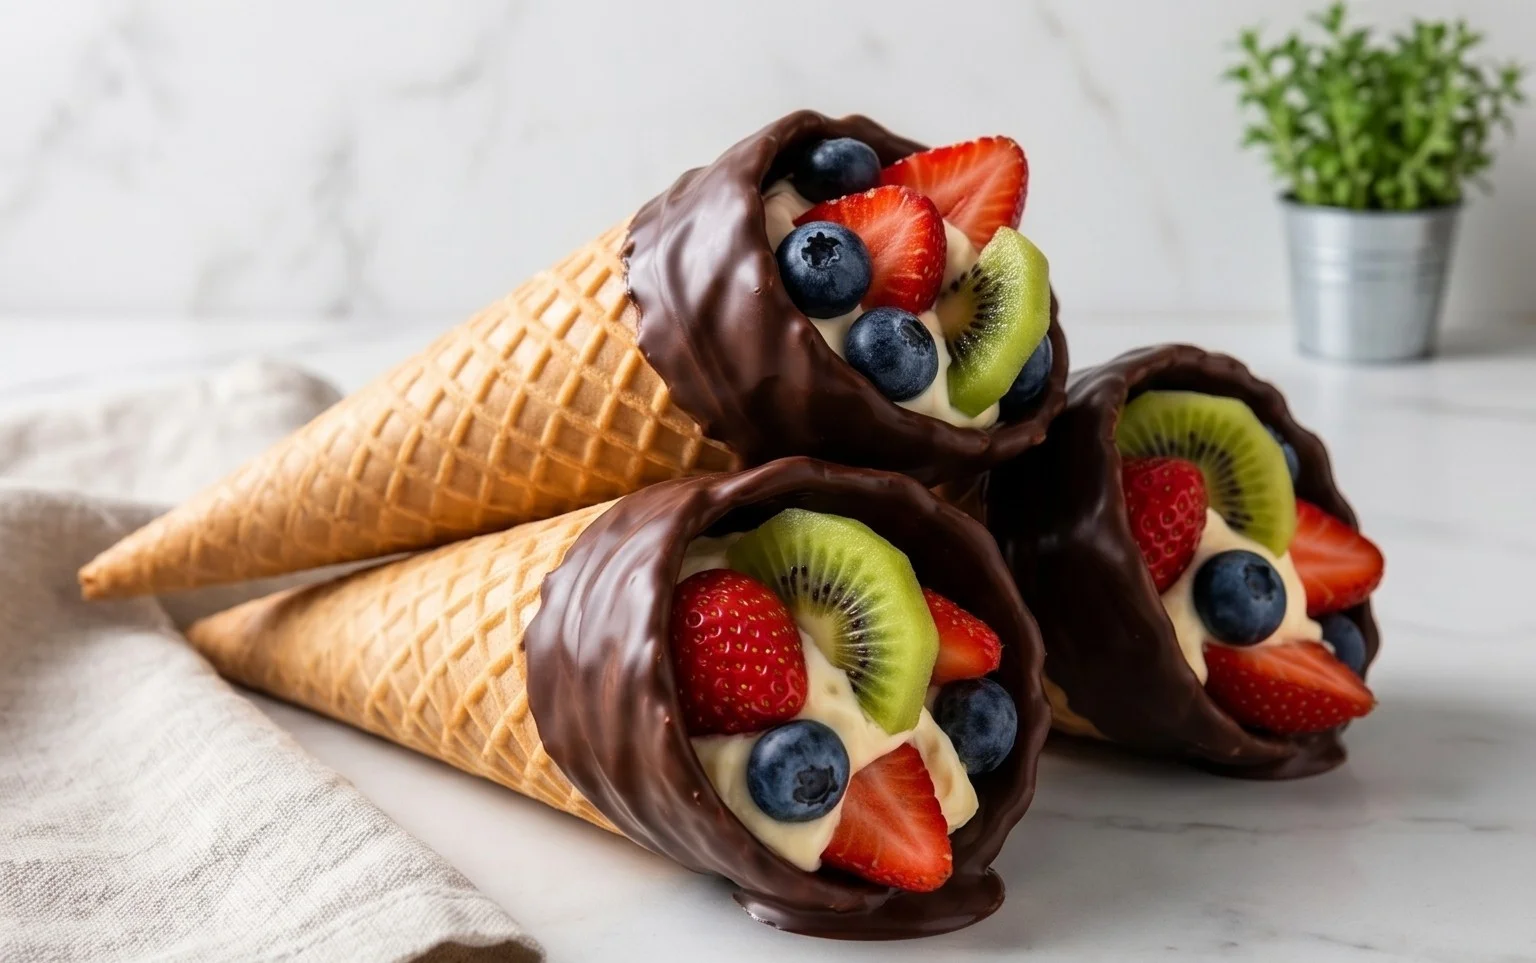
Chocolate Dipped Fruit Filled Cones are more than just a dessert; they’re a delightful little package of joy waiting to be unwrapped. Imagin extracte the satisfying crunch of a crisp cone giving way to a burst of fresh, vibrant fruit, all encased in a velvety layer of rich, decadent chocolate. It’s a flavor combination that’s simply irresistible, and for good reason! These beautiful creations hit all the right notes: the sweetness of the chocolate, the natural tang of the fruit, and the playful texture of the cone. They’re the perfect treat for a summer picnic, a sophisticated party, or even just a special indulgence for yourself. What makes these Chocolate Dipped Fruit Filled Cones truly special is their charming presentation and the delightful surprise hidden within each bite. They’re guaranteed to bring smiles and a touch of magic to any occasion.
Chocolate Dipped Fruit Filled Cones
Imagin extracte biting into a crisp, sweet cone, the satisfying crunch giving way to a burst of fresh, juicy fruit, all enrobed in a smooth, decadent layer of chocolate. That’s the magic of these Chocolate Dipped Fruit Filled Cones! They’re a delightful treat that feels both elegant and fun, perfect for a special occasion, a delightful dessert, or even a playful afternoon snack. I love how versatile they are – you can customize the fruit and chocolate to your heart’s content. Let’s get started on creating these little masterpieces!
Ingredients:
Preparing the Fruit Filling
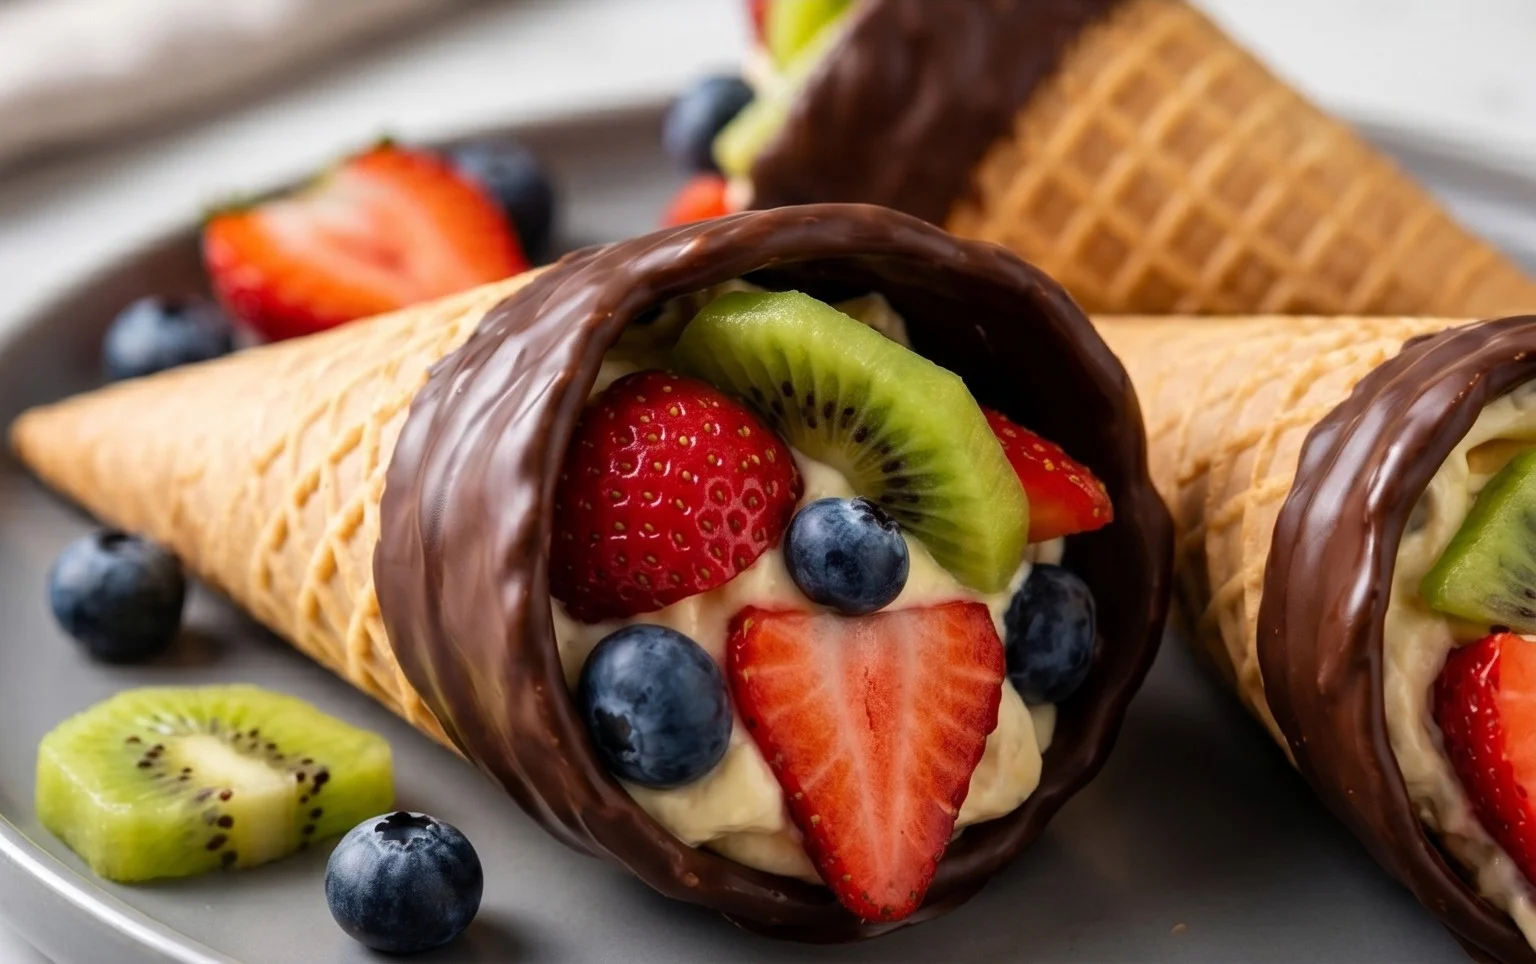
The key to a fantastic fruit-filled cone is using fresh, vibrant fruit. I like to combine a few different berries for a lovely mix of flavors and colors. Gently wash your strawberries, raspberries, and blueberries and pat them completely dry. This is important because excess water can make your chocolate seize later on. Hull the strawberries and slice them into bite-sized pieces. If your raspberries are particularly delicate, handle them with care to avoid crushing them.
In a medium bowl, gently combine the sliced strawberries, raspberries, and blueberries. You want them to be mixed, but not mashed. This simple fruit medley will provide a refreshing contrast to the rich chocolate and crisp cone.
Melting the Chocolate
Now for the star of the show: the chocolate! For the best results, I always recommend using good quality chocolate. You can use semi-sweet, dark, or even milk chocolate, depending on your preference. Chop it finely to ensure it melts smoothly and evenly.
There are a couple of ways to melt chocolate. My preferred method is using a double boiler. Fill the bottom pot of your double boiler with about an inch of water and bring it to a gentle simmer over medium heat. Place the finely chopped chocolate in the top bowl, ensuring the bottom of the bowl doesn’t touch the water. Stir the chocolate constantly with a rubber spatula until it’s completely melted and smooth. This gentle heating process prevents the chocolate from burning.
Alternatively, you can melt the chocolate in the microwave. Place the chopped chocolate in a microwave-safe bowl. Heat on 50% power for 30-second intervals, stirring well after each interval, until the chocolate is melted and smooth. Be patient with this method; it’s easy to overheat chocolate in the microwave.
Once the chocolate is melted and smooth, stir in the vanilla extract. This adds a lovely depth of flavor to the chocolate coating.
Assembling the Cones
This is where the magic really happens! You’ll want to work relatively quickly once your chocolate is melted, as it can start to thicken.
Take one waffle cone at a time. Using a spoon, carefully fill the bottom of the cone with some of your prepared fruit mixture. Don’t overfill it; you want to leave enough space for the chocolate to seal the fruit inside. I usually fill it about one-third of the way up.
Once the fruit is in, it’s time for the chocolate. Holding the cone over your bowl of melted chocolate, carefully spoon the chocolate into the opening of the cone, ensuring it covers the fruit and creates a seal. You want to get the chocolate down into the cone as much as possible to prevent the fruit from falling out. You can also use a small spatula or even the back of a spoon to help guide the chocolate and create an even coating.
Dipping and Decorating
Now for the fun part – dipping! You can simply dip the top rim of the cone in the melted chocolate for a more traditional look, or if you prefer a fully coated cone, carefully spoon or pour the chocolate over the entire cone, allowing the excess to drip back into the bowl. For the fruit-filled cones, dipping the top rim and letting the chocolate seep down is often the easiest way to create that beautiful enclosure.
Once you have your chocolate-coated cones, you can add your optional decorations while the chocolate is still wet. This is where you can get creative! I love adding a sprinkle of colorful sprinkles, a dusting of shredded coconut, or even some finely chopped nuts for added texture and flavor. Gently place the decorated cones onto a parchment-lined baking sheet to set.
Chilling and Serving
This is the final, and perhaps most important, step: patience! Place the baking sheet with the dipped cones into the refrigerator for at least 30 minutes, or until the chocolate is completely set. This allows the chocolate to harden properly, ensuring your cones are perfectly formed and ready to enjoy.
Once the chocolate is firm, your Chocolate Dipped Fruit Filled Cones are ready to be devoured! They are best enjoyed fresh. The contrast of the crunchy cone, the sweet and tart fruit, and the rich chocolate is simply divine. I find that they don’t last too long in my house once they’re made! Enjoy every delicious bite!
Conclusion:
And there you have it – the ultimate guide to crafting delightful Chocolate Dipped Fruit Filled Cones! I truly hope you’ve enjoyed learning how to create these stunning and delicious treats. These cones are an absolute showstopper, combining the satisfying crunch of a waffle cone with the luscious sweetness of chocolate and the vibrant burst of fresh fruit. They’re perfect for birthdays, holidays, or simply as an impressive homemade dessert that will undoubtedly wow your friends and family. Imagin extracte the joy on their faces as they bite into these beautifully presented, flavor-packed creations!
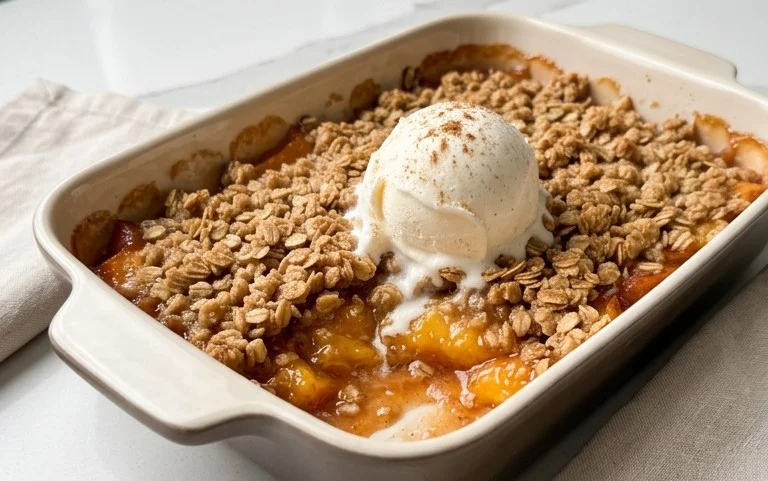
For serving, these cones are fantastic on their own, but consider pairing them with a scoop of vanilla bean ice cream for an extra layer of indulgence, or a dollop of whipped cream for added lightness. They also make a wonderful addition to a dessert buffet or as a unique party favor.
Don’t be afraid to get creative with your fruit fillings! While strawberries and bananas are classic choices, explore with raspberries, blueberries, or even finely diced mango for a tropical twist. For variations on the chocolate, try drizzling white chocolate over dark, or adding a sprinkle of chopped nuts or toasted coconut to the melted chocolate before dipping. The possibilities for your Chocolate Dipped Fruit Filled Cones are endless!
I wholeheartedly encourage you to give this recipe a try. It’s more accessible than you might think, and the results are incredibly rewarding. Get ready to impress yourself and everyone you share them with!
Frequently Asked Questions:
Can I make these cones ahead of time?
Yes, you absolutely can! For best results, I recommend dipping and filling the cones a few hours before serving. Store them in an airtight container in a single layer at room temperature. If using very ripe fruit or a filling that might weep, it’s best to assemble closer to serving time to prevent soggin extractess.
What’s the best way to melt chocolate for dipping?
The most common and reliable method is using a double boiler. Place your chopped chocolate or chocolate chips in a heatproof bowl set over a saucepan of simmering water, ensuring the bottom of the bowl doesn’t touch the water. Stir gently until smooth. Alternatively, you can microwave the chocolate in 30-second intervals, stirring between each, until melted and smooth. Be careful not to overheat!
Chocolate Dipped Fruit Filled Cones
A delightful treat featuring crisp cones filled with fresh fruit and dipped in rich chocolate.
Ingredients
-
2 cups fresh strawberries, hulled and quartered
-
1 cup fresh blueberries
-
1 cup fresh raspberries
-
1/2 cup chopped fresh pineapple
-
1/2 cup chopped fresh kiwi
-
12 sugar cones
-
1 cup semi-sweet chocolate chips
-
1 tablespoon vegetable oil
Instructions
-
Step 1
Gently combine the prepared strawberries, blueberries, raspberries, pineapple, and kiwi in a medium bowl. -
Step 2
Spoon the fruit mixture into the sugar cones, filling them generously but without overstuffing. -
Step 3
In a microwave-safe bowl, combine the semi-sweet chocolate chips and vegetable oil. Microwave in 30-second intervals, stirring between each, until the chocolate is melted and smooth. -
Step 4
Holding each filled cone by the tip, carefully dip the top portion into the melted chocolate, allowing excess to drip off. -
Step 5
Place the chocolate-dipped cones on a baking sheet lined with parchment paper. You can place them upright in glasses or mugs to help them stand. -
Step 6
Refrigerate the cones for at least 30 minutes, or until the chocolate is firm.
Important Information
Nutrition Facts (Per Serving)
It is important to consider this information as approximate and not to use it as definitive health advice.
Allergy Information
Please check ingredients for potential allergens and consult a health professional if in doubt.