Easy Chia Seed Pudding-Healthy & Delicious Dessert
Chia Seed Pudding Recipe: Your new go-to for a breakfast that’s as delightful as it is nutritious! Have you ever craved a meal that feels like a decadent treat but is actually packed with goodness? Look no further. I’m constantly on the hunt for recipes that simplify my mornings without sacrificing flavor or health, and this chia seed pudding recipe has become an absolute staple in my kitchen. What’s not to love? This dish is incredibly versatile, allowing for endless topping combinations. It’s a textural marvel – that satisfying, jelly-like consistency is so uniquely comforting. Plus, the sheer simplicity of preparing a healthy breakfast overnight means you can wake up to a delicious meal ready to go. It’s no wonder so many people are falling in love with chia seed pudding; it’s a nutritional powerhouse disguised as pure indulgence.
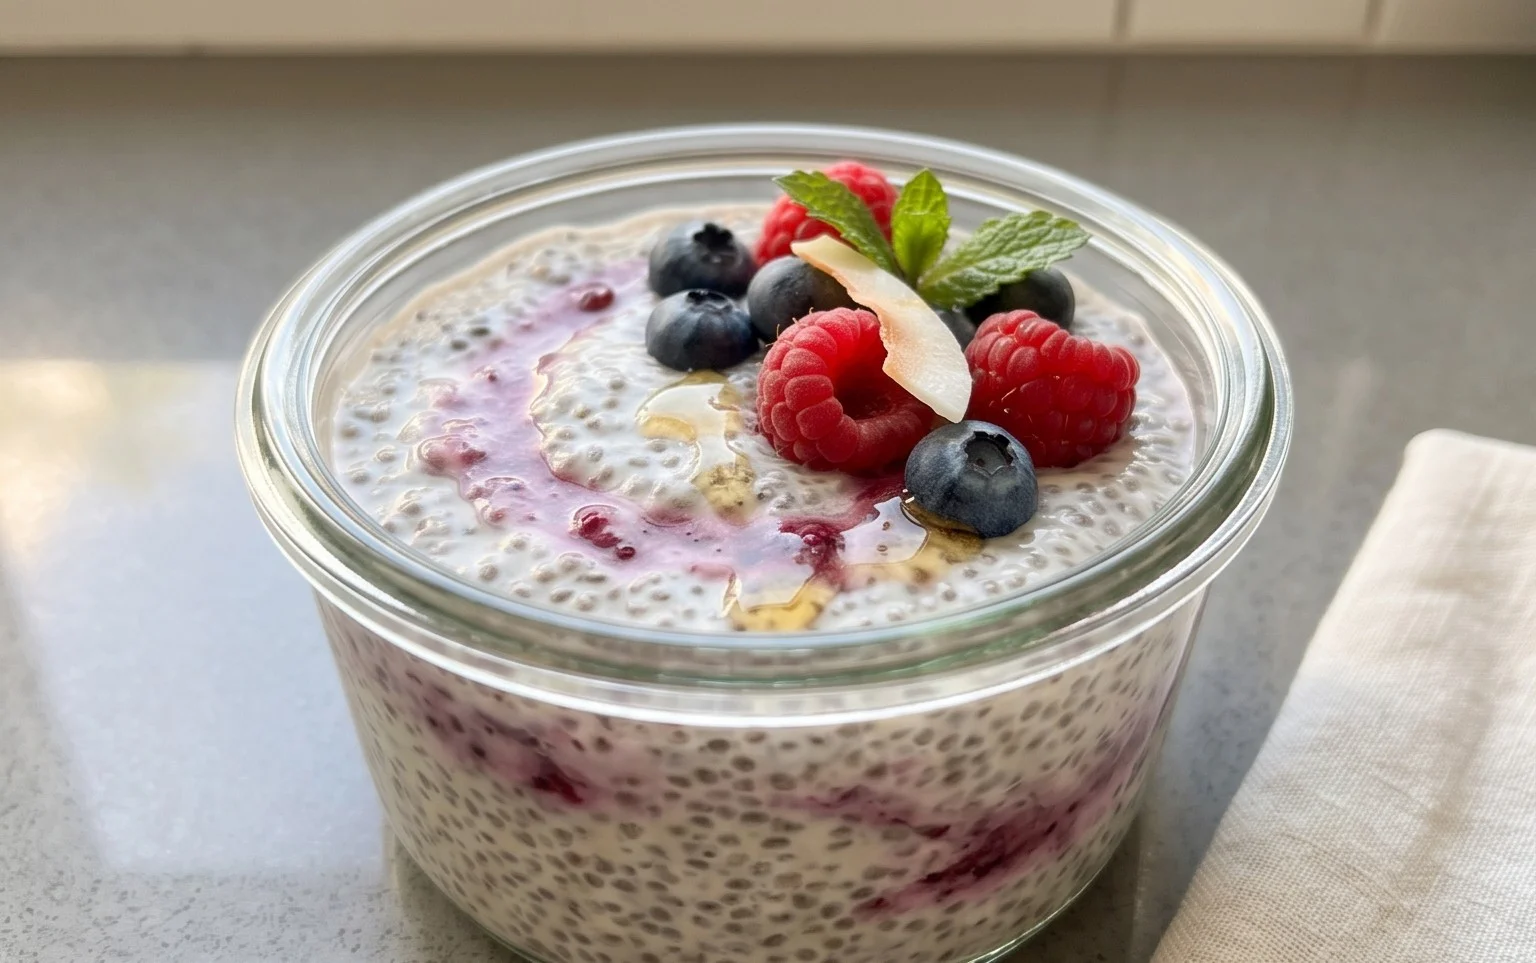
Chia Seed Pudding Recipe
Chia seed pudding is one of those magical, almost effortless recipes that feels incredibly indulgent yet is packed with goodness. It’s the perfect make-ahead breakfast, a healthy snack, or even a light dessert. The beauty of chia seed pudding lies in its simplicity and versatility. With just a few basic ingredients and a little patience, you can create a creamy, satisfying dish that’s as delightful to look at as it is to eat. I love that I can prepare it the night before and wake up to a ready-to-go treat. This recipe is for a single serving, making it ideal for a quick personal breakfast, but it’s easily scalable if you’re making it for the whole family or for meal prepping.
Let’s dive into what you’ll need to create this delightful pudding.
Ingredients:
Instructions:
Step 1: Combine Wet Ingredients
Begin extract by pouring your chosen milk into a jar, bowl, or any container you plan to use for your pudding. I find that using a jar with a lid is incredibly convenient because you can simply stir, close the lid, and pop it straight into the refrigerator. Next, add the maple syrup (or your preferred sweetener) and the vanilla extract to the milk. Give these wet ingredients a good whisk or stir to ensure the sweetener and vanilla are fully incorporated into the milk. This initial mixing helps to distribute the flavors evenly before the chia seeds even come into play.
Step 2: Add the Chia Seeds
Now it’s time to introduce the star of the show: the chia seeds. Add the 3 tablespoons of chia seeds to the sweetened and flavored milk. At this stage, you might notice the mixture starting to look a bit thick, but don’t worry, that’s exactly what we want. Stir everything together thoroughly. It’s really important to stir well at this point to prevent the chia seeds from clumping together. If the seeds clump, you’ll end up with pockets of ungelled seeds and a less smooth pudding texture. Imagin extracte little gelled seed islands in a sea of smooth pudding – not ideal! So, give it a good, vigorous stir for about 30-60 seconds, making sure to scrape the bottom and sides of your container.
Step 3: The First Stirring and Settling Period
After you’ve thoroughly mixed the chia seeds into the liquid, let the mixture sit for about 5-10 minutes. During this short resting period, the chia seeds will begin extract to absorb some of the liquid and will start to swell. You’ll notice the mixture thickening slightly. After this initial settling period, it’s crucial to give the pudding another good stir. This second stir is just as important as the first, if not more so. It helps to break up any clumps of chia seeds that might have started to form and ensures an even distribution of the seeds throughout the liquid, leading to a consistently creamy texture. Think of it as giving the pudding a little nudge to ensure it sets up perfectly.
Step 4: Refrigeration for Gelation
Once you’ve completed the second stir, it’s time to let the magic of gelation happen. Cover your container tightly with a lid or plastic wrap. Place the pudding in the refrigerator. The ideal chilling time is at least 4 hours, but for the best, thickest, and creamiest texture, I highly recommend leaving it overnight. During this time, the chia seeds will absorb almost all of the liquid, transforming the mixture into a thick, pudding-like consistency. The longer it sits, the more the seeds will swell and the pudding will firm up. This is the passive cooking stage, requiring no effort from you other than finding space in your fridge!
Step 5: Checking Consistency and Serving
After the chilling period (ideally overnight), remove your chia seed pudding from the refrigerator. Give it a good stir. It should now have a thick, pudding-like consistency. If it’s still a little thinner than you’d like, you can always add a few more chia seeds and let it chill for another hour or two, or simply enjoy it as is – some people prefer a slightly looser pudding.
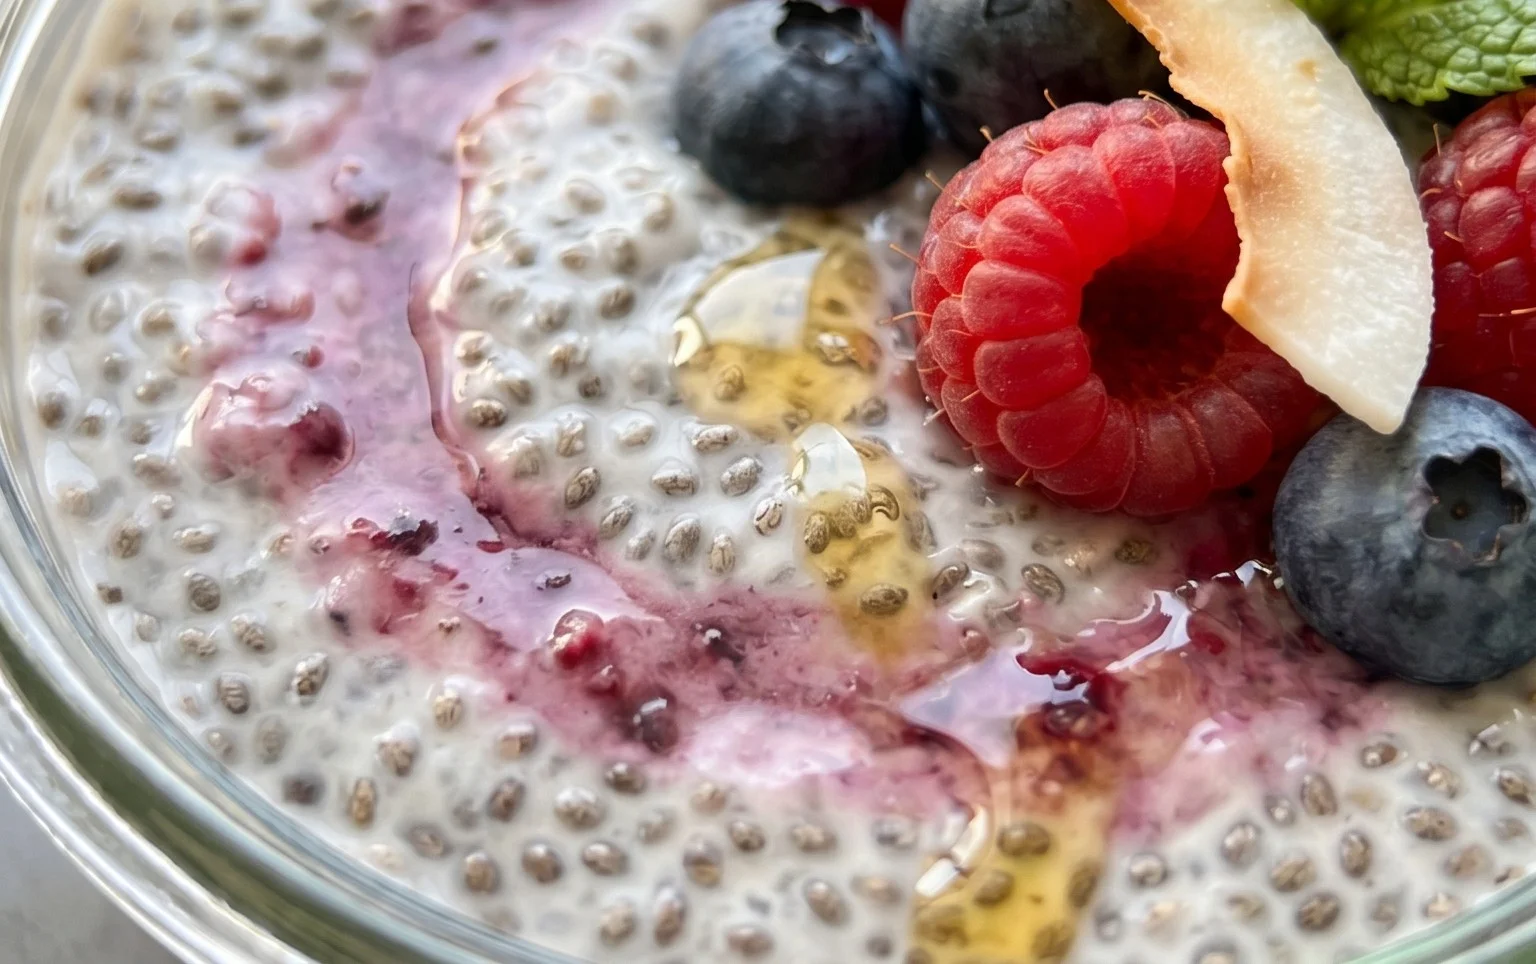
Now comes the fun part: customization! You can enjoy your chia seed pudding as is, or you can elevate it with your favorite toppings. Fresh berries are a classic choice, offering a burst of freshness and natural sweetness. A sprinkle of granola adds a delightful crunch. For a more decadent experience, try a dollop of whipped cream or a drizzle of nut butter. You can also add a sprinkle of shredded coconut, a few chopped nuts, or even some cacao nibs for a chocolatey kick. The possibilities are endless, and experimenting with different toppings is part of what makes chia seed pudding so enjoyable. This simple recipe is a fantastic base for creating countless variations, each tailored to your mood and cravings. It’s a guilt-free way to satisfy a sweet tooth and fuel your body with healthy fats, fiber, and protein. Enjoy your homemade chia seed pudding!
Conclusion:
You’ve now got all the tools to create delicious and incredibly healthy chia seed pudding! This recipe is a true winner because it’s so simple to prepare, requires minimal ingredients, and offers a powerhouse of nutrients. Packed with fiber, omega-3 fatty acids, and protein, chia seed pudding is a fantastic breakfast option, a satisfying snack, or even a light dessert. The beauty of this dish lies in its versatility. Feel free to get creative with your toppings! Fresh berries, a sprinkle of granola, a drizzle of honey or maple syrup, or even some toasted nuts can elevate your pudding to a whole new level. Don’t be afraid to experiment with different liquids too; coconut milk adds a tropical flair, while almond milk offers a subtler nutty taste. Give this chia seed pudding recipe a try – I’m confident you’ll love its creamy texture and the amazing health benefits it provides!
Frequently Asked Questions:
How long does chia seed pudding need to set?
For the best creamy texture, I recommend letting your chia seed pudding set in the refrigerator for at least 4 hours, or ideally, overnight. This allows the chia seeds to fully absorb the liquid and gel up.
Can I make chia seed pudding ahead of time?
Absolutely! Chia seed pudding is perfect for meal prep. You can make a batch at the begin extractning of the week and store individual servings in airtight containers in the fridge for up to 3-4 days. Just add your fresh toppings right before serving.
What happens if I don’t use enough liquid?
If you don’t use enough liquid, your chia seed pudding will be very thick, almost like a paste, and the seeds might not properly gel. If this happens, don’t worry! Simply stir in a bit more of your chosen liquid until you reach your desired consistency.
Chia Seed Pudding Recipe
A simple and healthy chia seed pudding, perfect for breakfast or a snack.
Ingredients
-
3 tablespoons chia seeds
-
1 tablespoon maple syrup
-
1 teaspoon vanilla extract
-
3/4 cup almond milk
-
1/4 cup fresh berries
-
1 tablespoon chopped nuts
Instructions
-
Step 1
In a bowl or jar, combine the chia seeds, maple syrup, and vanilla extract. -
Step 2
Add the milk of choice and stir well to combine, ensuring no clumps of chia seeds remain. -
Step 3
Let the mixture sit for 5 minutes, then stir again to prevent clumping. -
Step 4
Cover the bowl or jar and refrigerate for at least 2 hours, or preferably overnight, until thickened. -
Step 5
Once thickened, stir the pudding and pour into serving dishes. -
Step 6
Top with fresh berries and chopped nuts before serving.
Important Information
Nutrition Facts (Per Serving)
It is important to consider this information as approximate and not to use it as definitive health advice.
Allergy Information
Please check ingredients for potential allergens and consult a health professional if in doubt.