Easy Homemade Bread Recipe – Best Flavor Ever
Homemade bread is an aromatic journey, a comforting ritual that transforms simple ingredients into something truly magical. There’s a primal satisfaction in feeling the dough come to life under your hands, the yeast awakening and performing its slow, beautiful work. Why do we, in this age of convenience, still flock to the humble art of baking our own bread? It’s the unparalleled aroma that fills the kitchen, a scent that whispers of warmth and home. It’s the textural contrast – the crisp, golden crust yielding to a soft, airy interior. But what truly makes homemade bread special is the love and intention baked into every loaf. It’s a tangible expression of care, a delicious centerpiece that brings people together. Forget store-bought; let’s create something truly extraordinary with this fantastic homemade bread recipe.
Discover the Joy of Baking
Your Kitchen’s New Signature Scent
Homemade Bread
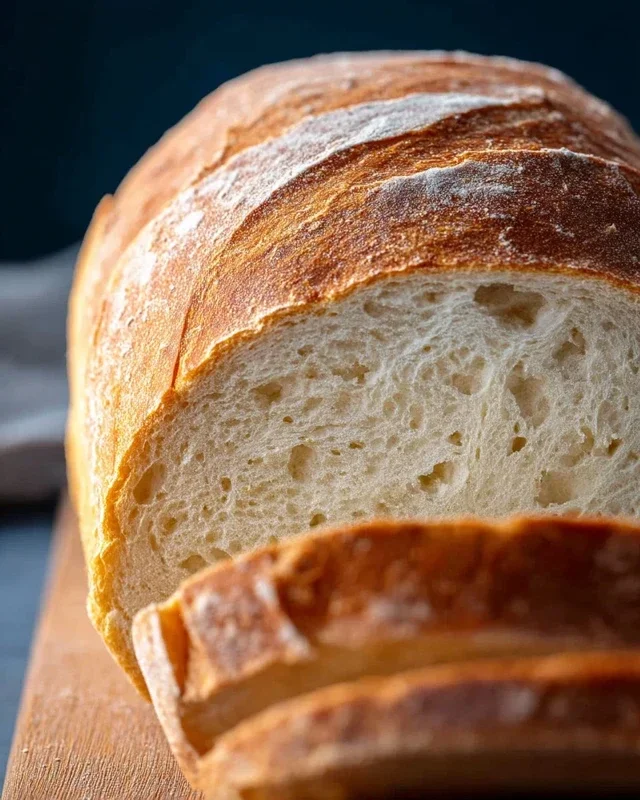
There’s something incredibly satisfying about pulling a warm, crusty loaf of homemade bread from your oven. The aroma alone is enough to fill your home with a sense of comfort and accomplishment. While the thought of baking bread from scratch might seem daunting, I promise you, it’s a remarkably straightforward process that yields incredible rewards. With just a few simple ingredients and a little patience, you can transform your kitchen into a baker’s paradise. This recipe is a fantastic starting point for anyone looking to embark on their bread-making journey. It’s forgiving, consistently delicious, and the foundation for so many other bread creations. Let’s get started!
Ingredients:
Activating the Yeast: The Foundation of Your Loaf
The first crucial step in making any yeast bread is to ensure your yeast is alive and ready to work its magic. In a large mixing bowl, combine the warm water and your chosen sweetener – honey or sugar. The warmth of the water is vital; too cold and the yeast won’t activate, too hot and you’ll kill it. Aim for that sweet spot between 105 and 115 degrees Fahrenheit. You can test this by dipping your finger in; it should feel pleasantly warm, not hot. Once the water and sweetener are combined, sprinkle the active dry yeast over the top. Give it a gentle stir, and then let it sit undisturbed for about 5-10 minutes. You’ll know the yeast is active when it starts to foam and bubble, creating a creamy layer on the surface of the water. This ‘proofing’ process is your visual confirmation that your yeast is ready to leaven your bread. If you don’t see any activity, it’s best to start again with fresh yeast, as your bread won’t rise properly otherwise.
Mixing the Dough: Bringin extractg it All Together
Once your yeast has bloomed, it’s time to incorporate the remaining ingredients. Add the salt and oil to the yeast mixture. The salt plays an important role in controlling the yeast’s activity and adding flavor, while the oil contributes to the bread’s softness and texture. Now, it’s time for the flour. Start by adding 4 cups of the all-purpose or bread flour to the wet ingredients. Begin extract mixing with a sturdy spoon or a dough whisk until a shaggy dough begin extracts to form. At this stage, the dough will be quite sticky and unmanageable.
Kneading the Dough: Developing Gluten for Structure
This is where the real work begin extracts, and it’s one of the most rewarding parts of bread making. Turn the shaggy dough out onto a lightly floured surface. Begin extract kneading the dough by pushing it away from you with the heels of your hands, then folding it back over itself and giving it a quarter turn. Continue this process for about 8-10 minutes. You’ll be adding more flour a little at a time, just enough to prevent the dough from sticking excessively to your hands and the work surface. The goal is to develop the gluten in the flour, which gives bread its characteristic chewy texture and structure. You’ll know the dough is properly kneaded when it becomes smooth, elastic, and springs back slowly when gently poked with a finger. It should no longer be sticky. If you’re using a stand mixer with a dough hook, you can knead on medium speed for about 6-8 minutes until the dough pulls away from the sides of the bowl.
First Rise: Letting the Dough Rest and Grow
Once your dough is beautifully kneaded, shape it into a smooth ball. Lightly grease a clean large bowl with a little oil. Place the dough ball into the greased bowl, turning it to coat all sides with oil. Cover the bowl tightly with plastic wrap or a clean kitchen towel. Find a warm, draft-free spot in your kitchen for the dough to rise. This could be on top of your refrigerator, in a slightly warm (turned off) oven with the light on, or simply on your counter if your kitchen is warm. Let the dough rise for about 1 to 1.5 hours, or until it has doubled in size. This first rise, also known as bulk fermentation, is essential for developing flavor and texture.
Shaping and Second Rise: Preparing for the Oven
Once the dough has doubled in size, gently punch it down to release the air. Turn the dough out onto your lightly floured surface again. At this point, you can shape your dough into your desired loaf. For a classic sandwich loaf, shape it into a rectangle and then roll it up tightly, pinching the seam closed. Place the shaped dough into a greased loaf pan. If you prefer a rustic round loaf, you can simply shape it into a ball and place it on a baking sheet lined with parchment paper. Cover the shaped dough loosely with plastic wrap or a clean towel and let it rise for a second time, for about 30-60 minutes, or until it has nearly doubled in size and looks puffy.
Baking Your Masterpiece: The Final Transformation
Preheat your oven to 375 degrees Fahrenheit (190 degrees Celsius). Once the dough has completed its second rise, it’s ready to bake. For a golden-brown crust, you can brush the top of the loaf with a little milk or an egg wash (one egg beaten with a tablespoon of water) just before baking. Carefully place the loaf pan or baking sheet into the preheated oven. Bake for 30-40 minutes for a standard loaf, or until the crust is a deep golden brown and the internal temperature of the bread reaches 190-200 degrees Fahrenheit when tested with an instant-read thermometer. If the crust is browning too quickly, you can tent it loosely with aluminum foil.
Cooling and Enjoying: The Sweet Reward
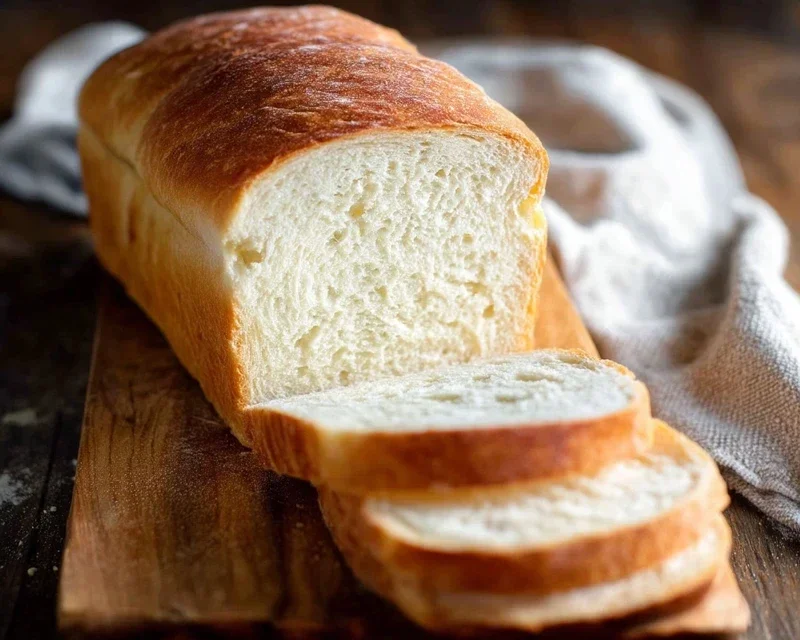
Once baked, immediately remove the bread from the loaf pan and place it on a wire rack to cool completely. This is a crucial step, as steam trapped inside can make the crust soggy. Resist the urge to cut into it too soon! Waiting for it to cool allows the internal structure to set. Once cooled, slice into your beautiful, homemade loaf and enjoy the fruits of your labor. Whether slathered with butter, used for sandwiches, or simply savored on its own, this homemade bread is sure to be a hit.
Conclusion:
You’ve done it! You’ve conquered the world of homemade bread. As you gaze upon your golden-brown masterpiece, know that you’ve created something truly special. This recipe isn’t just about a loaf of bread; it’s about the rewarding process, the incredible aroma that fills your kitchen, and the unparalleled satisfaction of tasting your own delicious creation. The simplicity of the ingredients and the straightforward steps make this recipe accessible to bakers of all levels, proving that delicious, artisanal bread is well within your reach.
Imagin extracte slicing into that warm, crusty exterior to reveal a soft, airy crum extractb. It’s perfect served simply with butter, used for hearty sandwiches, or as a base for bruschetta. Don’t be afraid to get creative! Try adding herbs like rosemary or thyme to the dough, or incorporate some grated cheese for a savory twist. You can even experiment with different flours for unique textures and flavors. The possibilities are endless, and I wholeheartedly encourage you to embark on this baking adventure. The joy of homemade bread is an experience you won’t forget!
Frequently Asked Questions about Homemade Bread:
Q: My bread didn’t rise as much as I expected. What could be the reason?
A: Several factors can affect rise. Ensure your yeast is fresh and properly activated. Water temperature is crucial; too hot can kill yeast, too cold can slow it down. Also, make sure your dough has had enough time to proof in a warm, draft-free spot. Sometimes, ambient temperature can play a role.
Q: How should I store my homemade bread to keep it fresh?
A: For the freshest taste, it’s best to enjoy your bread within a day or two. Store it at room temperature in a bread box or a loosely senon-alcoholic aled paper bag. Avoid plastic bags, as they can make the crust soggy. For longer storage, slice the cooled loaf and freeze it; it toasts beautifully from frozen.
Homemade Bread
A classic recipe for soft and delicious homemade bread, perfect for sandwiches or toast. This recipe yields two loaves.
Ingredients
-
2 cups warm water (105-115 degrees F)
-
1 Tablespoon active dry yeast
-
1/4 cup honey
-
2 teaspoons salt
-
2 Tablespoons canola oil
-
4 – 5 1/2 cups all-purpose flour
Instructions
-
Step 1
In a large bowl, combine the warm water and honey. Sprinkle the yeast over the top and let it sit for 5-10 minutes until foamy. -
Step 2
Stir in the salt and oil. -
Step 3
Gradually add the flour, about one cup at a time, mixing until a shaggy dough forms. Continue adding flour until the dough is no longer sticky. -
Step 4
Turn the dough out onto a lightly floured surface and knead for 8-10 minutes until smooth and elastic. Place the dough in a greased bowl, cover, and let it rise in a warm place for 1 hour, or until doubled in size. -
Step 5
Punch down the dough, divide it in half, and shape each half into a loaf. Place the loaves in greased 9×5 inch loaf pans. -
Step 6
Cover the pans and let the dough rise for another 30-45 minutes, or until nearly doubled. Preheat oven to 375 degrees F (190 degrees C). -
Step 7
Bake for 30-35 minutes, or until the loaves are golden brown and sound hollow when tapped on the bottom. Let cool on a wire rack before slicing.
Important Information
Nutrition Facts (Per Serving)
It is important to consider this information as approximate and not to use it as definitive health advice.
Allergy Information
Please check ingredients for potential allergens and consult a health professional if in doubt.