Easy Italian Butter Cookie Recipe-Simple & Delicious
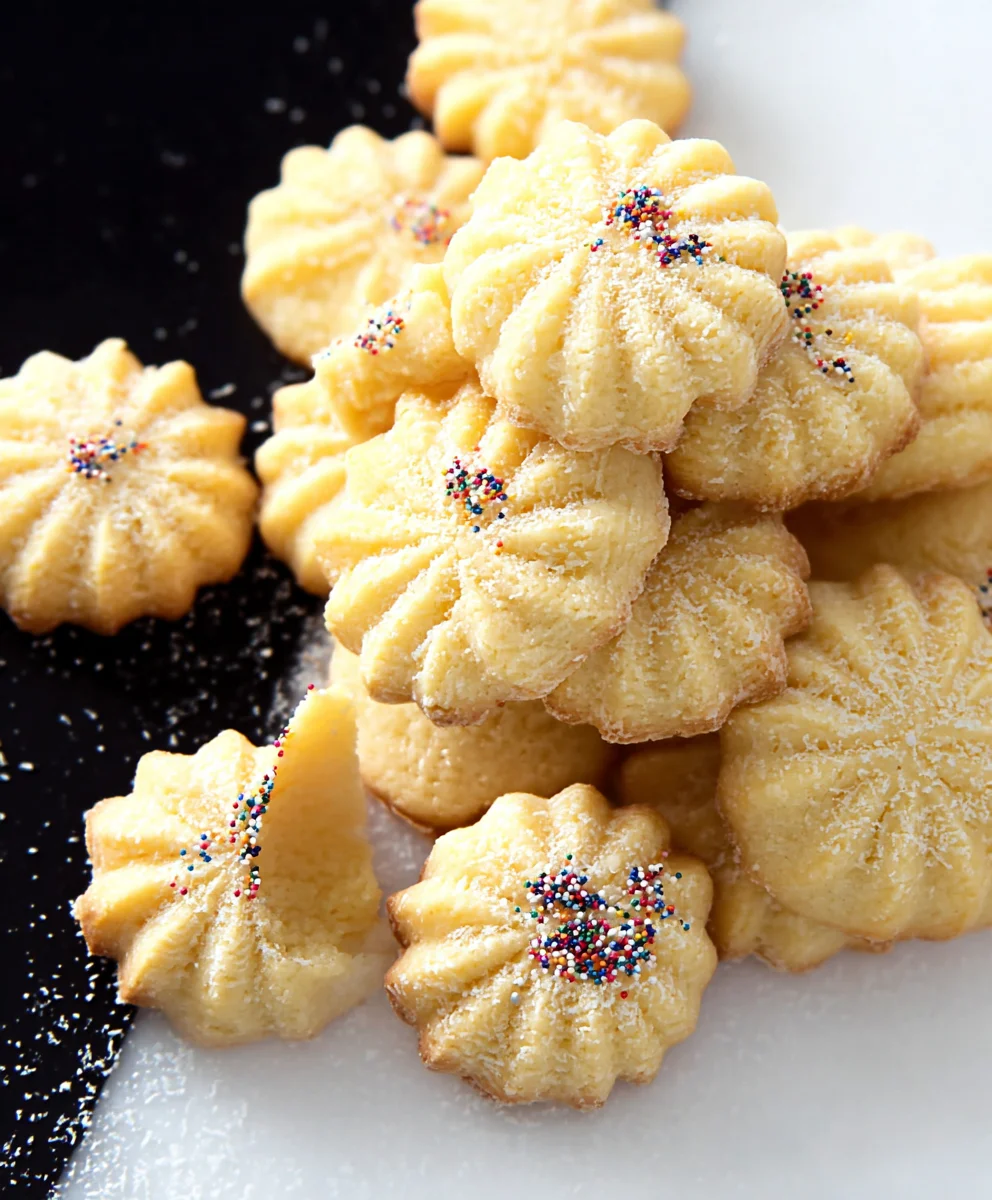
Italian Butter Cookie Recipe – if that phrase alone doesn’t conjure images of delicate, melt-in-your-mouth sweetness and the comforting aroma of a Tuscan kitchen, then prepare to be enchanted. These aren’t just any cookies; they are a testament to simplicity done exceptionally well. People adore this Italian Butter Cookie Recipe for its utterly satisfying buttery flavor, its delightful crum extractbly texturrum extracthat crumbles just so on the tongue, and the sheer joy they bring to any occasion, from a casual afternoon tea to a festive holiday spread. What truly makes them special is their remarkable versatility. While inherently delicious on their own, they provide a perfect canvas for a touch of lemon zest, almond extract, or even a delicate swirl of jam. They embody a timeless elegance that has been cherished for generations, offering a pure, unadulterated taste of Italian baking tradition.
Ingredients:
- 2 cups all-purpose flour
- 1/2 teaspoon baking powder
- A generous pinch of salt
- 1 cup unsalted butter, softened to room temperature
- 3/4 cup granulated sugar
- 2 large egg yolks
- 1 teaspoon pure vanilla extract
- 1 tablespoon whole milk (optional, only if the dough is too dry)
- Nonpareil decorating sprinkles (for coating)
- 1/2 cup melting chocolate (for drizzling, optional)
Preparing the Dough
- In a medium bowl, whisk together the all-purpose flour, baking powder, and salt. This step ensures that the leavening agent and salt are evenly distributed throughout the flour, which is crucial for consistent cookie texture and rise. Set this dry ingredient mixture aside.
- In a large mixing bowl, cream together the softened unsalted butter and granulated sugar. You can use an electric mixer for this, or if you’re feeling energetic, a sturdy whisk and some elbow grease will do the trick. Beat them together until the mixture is light, fluffy, and pnon-alcoholic ale yellow in color. This process, known as creaming, incorporates air into the butter and sugar, which contributes to the cookie’s tender crum extractb and delicate texture. Scrape down the sides of the bowl periodically to ensure all the ingredients are thoroughly combined.
- Add the egg yolks and vanilla extract to the creamed butter and sugar mixture. Beat on medium speed until well combined and the mixture is smooth. The egg yolks add richness and help bind the dough, while the vanilla extract provides that classic sweet aroma and flavor that makes these Italian butter cookies so irresistible. Make sure to scrape down the sides of the bowl again to fully incorporate everything.
- Gradually add the dry ingredients to the wet ingredients. Mix on low speed until just combined. Be careful not to overmix at this stage, as overmixing can develop the gluten in the flour, resulting in tough cookies. You want to mix until you no longer see streaks of flour. If the dough seems excessively drum extractand crumbly and struggles to come together, you can add the tablespoon of whole milk, a teaspoon at a time, mixing gently until the dough just begin extracts to form a cohesive ball. It should be soft and pliable, but not sticky.
- Shape the dough into disks, wrap each disk in plastic wrap, and refrigerate for at least 1 hour. This chilling period is essential. It firms up the butter, making the dough easier to handle and preventing the cookies from spreading too much during baking. A firm dough will hold its shape better, resulting in beautifully formed cookies. You can also prepare this dough a day in advance and keep it refrigerated.
Shaping and Baking the Cookies
- Preheat your oven to 350°F (175°C). Line baking sheets with parchment paper. This not only prevents the cookies from sticking but also makes for easier cleanup.
- On a lightly floured surface, roll out the chilled dough to about 1/4-inch thickness. For classic Italian butter cookies, you can either use cookie cutters to create fun shapes like stars, hearts, or traditional Italian patterns, or you can simply roll the dough into logs and slice them into 1/2-inch thick rounds. If the dough becomes too soft while working with it, return it to the refrigerator for 10-15 minutes to firm up again. This ensures clean cuts and prevents the shapes from distorting.
- Carefully place the shaped cookies onto the prepared baking sheets, leaving about 1 to 2 inches of space between each cookie. This allows for a little expansion during baking. For a decorative touch, gently press your favorite nonpareil decorating sprinkles onto the tops of the cookies before baking. Ensure they adhere well by lightly pressing them into the dough.
- Bake for 10-12 minutes, or until the edges of the cookies are lightly golden brown and the centers are set. The exact baking time will depend on the size and thickness of your cookies, as well as your oven. Keep a close eye on them during the last few minutes to prevent burning. Once baked, let the cookies cool on the baking sheets for 5 minutes before transferring them to a wire rack to cool completely. This brief cooling period on the sheet helps them set up so they don’t break when you move them.
- Once the cookies have cooled completely, you can optionally dip them in melted chocolate or drizzle melted chocolate over them for an extra touch of indulgence. To melt the chocolate, place it in a microwave-safe bowl and heat in 30-second intervals, stirring between each, until smooth and pourable. You can then dip the cooled cookies halfway into the melted chocolate, or use a fork or piping bag to create elegant drizzles. Allow the chocolate to set completely before storing or serving. These cookies store beautifully in an airtight container at room temperature for up to a week, making them perfect for making ahead.
Conclusion:
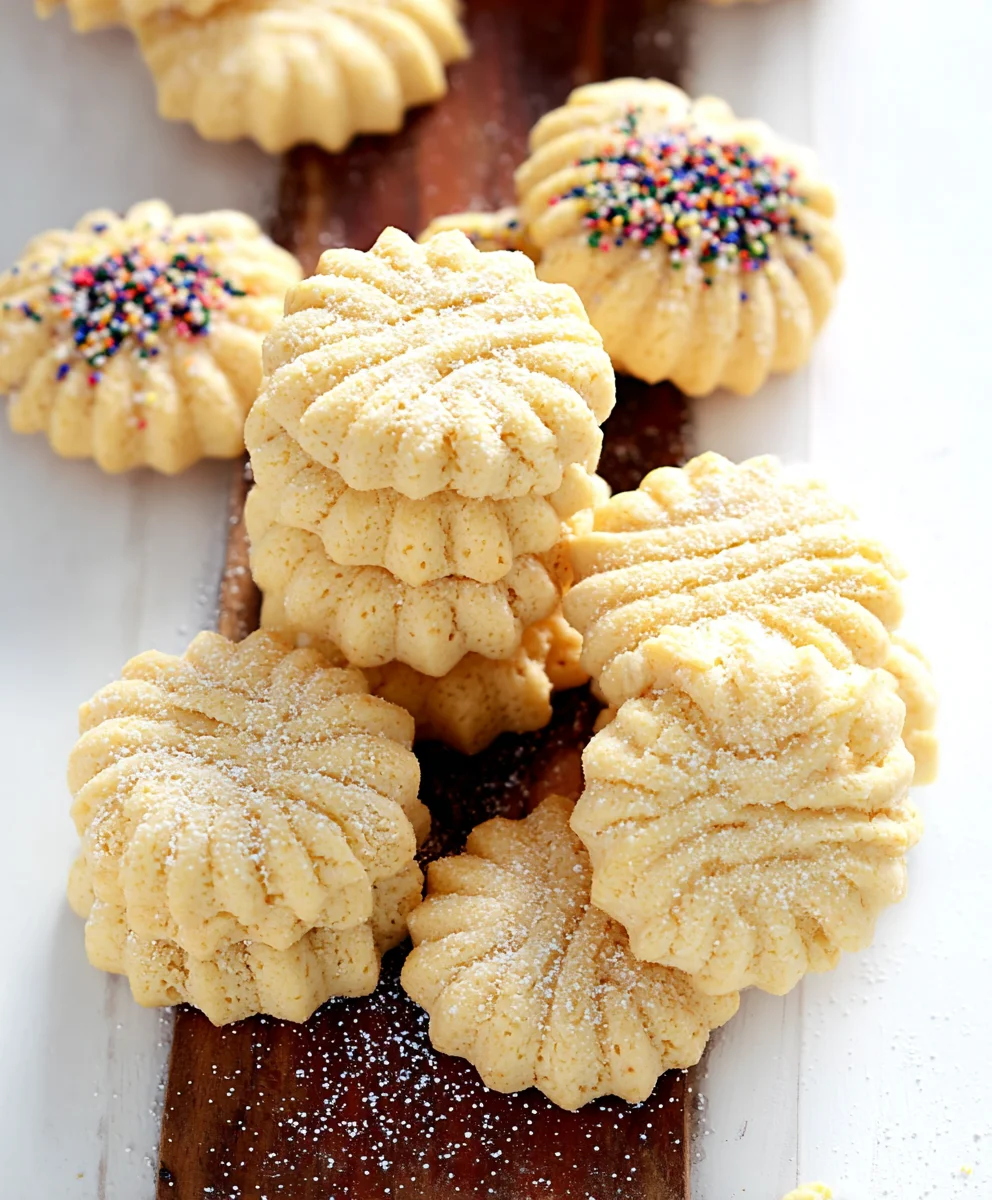
And there you have it – the perfect Italian Butter Cookie Recipe! These delightful cookies are a testament to the beauty of simple ingredients coming together to create something truly magical. We’ve walked through each step, from creaming the butter and sugar to achieving that signature tender crum extractb. The aroma that fills your kitchen as these bake is simply divine, promising a treat that’s both comforting and elegant. I encourage you to give this recipe a try; it’s incredibly rewarding, and the results are always worth it. Don’t be afraid to get creative and make these your own! Enjoy sharing these little bites of happiness with your loved ones, or savoring them with a cup of your favorite beverage.
Frequently Asked Questions:
Can I make these Italian Butter Cookies ahead of time?
Absolutely! Italian Butter Cookies are excellent for making in advance. Once cooled completely, they can be stored in an airtight container at room temperature for up to a week. They actually tend to become even more flavorful after a day or two, allowing the butter and vanilla notes to meld beautifully.
What are some creative variations for these Italian Butter Cookies?
The possibilities are endless! You can dip half of each cooled cookie in melted chocolate (dark, milk, or white) for an extra touch of indulgence. Consider adding a pinch of lemon zest or almond extract to the dough for a different flavor profile. You can also sprinkle them with colored sugar before baking for a festive look, or sandwich two cookies together with a thin layer of jam or buttercream.
My cookies spread too much. What went wrong?
Cookie spreading is often due to the butter being too soft or the dough being overworked. Ensure your butter is softened to room temperature but not melted. When mixing, avoid overbeating once the flour is added. Chilling the dough for at least 30 minutes before baking can also significantly help prevent excessive spreading and result in thicker, more structured cookies.
Easy Italian Butter Cookie Recipe-Simple & Delicious
A simple and delicious recipe for classic Italian butter cookies, perfect for any occasion.
Ingredients
-
2 cups all-purpose flour
-
1/2 teaspoon baking powder
-
A generous pinch of salt
-
1 cup unsalted butter, softened to room temperature
-
3/4 cup granulated sugar
-
2 large egg yolks
-
1 teaspoon pure vanilla extract
-
1 tablespoon whole milk (optional, only if the dough is too dry)
-
Nonpareil decorating sprinkles
-
1/2 cup melting chocolate (optional)
Instructions
-
Step 1
In a medium bowl, whisk together the all-purpose flour, baking powder, and salt. Set this dry ingredient mixture aside. -
Step 2
In a large mixing bowl, cream together the softened unsalted butter and granulated sugar until light, fluffy, and pale yellow. Scrape down the sides of the bowl periodically. -
Step 3
Add the egg yolks and vanilla extract to the creamed butter and sugar mixture. Beat on medium speed until well combined and smooth. Scrape down the sides of the bowl again. -
Step 4
Gradually add the dry ingredients to the wet ingredients. Mix on low speed until just combined, being careful not to overmix. If the dough is too dry, add milk a teaspoon at a time until it forms a cohesive ball. -
Step 5
Shape the dough into disks, wrap each disk in plastic wrap, and refrigerate for at least 1 hour to firm up. -
Step 6
Preheat your oven to 350°F (175°C). Line baking sheets with parchment paper. -
Step 7
On a lightly floured surface, roll out the chilled dough to about 1/4-inch thickness. Cut into shapes or slice into rounds. If dough softens, chill again. -
Step 8
Place shaped cookies on prepared baking sheets. Gently press nonpareil sprinkles onto the tops before baking. -
Step 9
Bake for 10-12 minutes, or until edges are lightly golden brown and centers are set. Cool on baking sheets for 5 minutes, then transfer to a wire rack to cool completely. -
Step 10
Once cooled, optionally dip or drizzle with melted chocolate. Allow chocolate to set before storing in an airtight container at room temperature.
Important Information
Nutrition Facts (Per Serving)
It is important to consider this information as approximate and not to use it as definitive health advice.
Allergy Information
Please check ingredients for potential allergens and consult a health professional if in doubt.